Read the gap before touching a screw
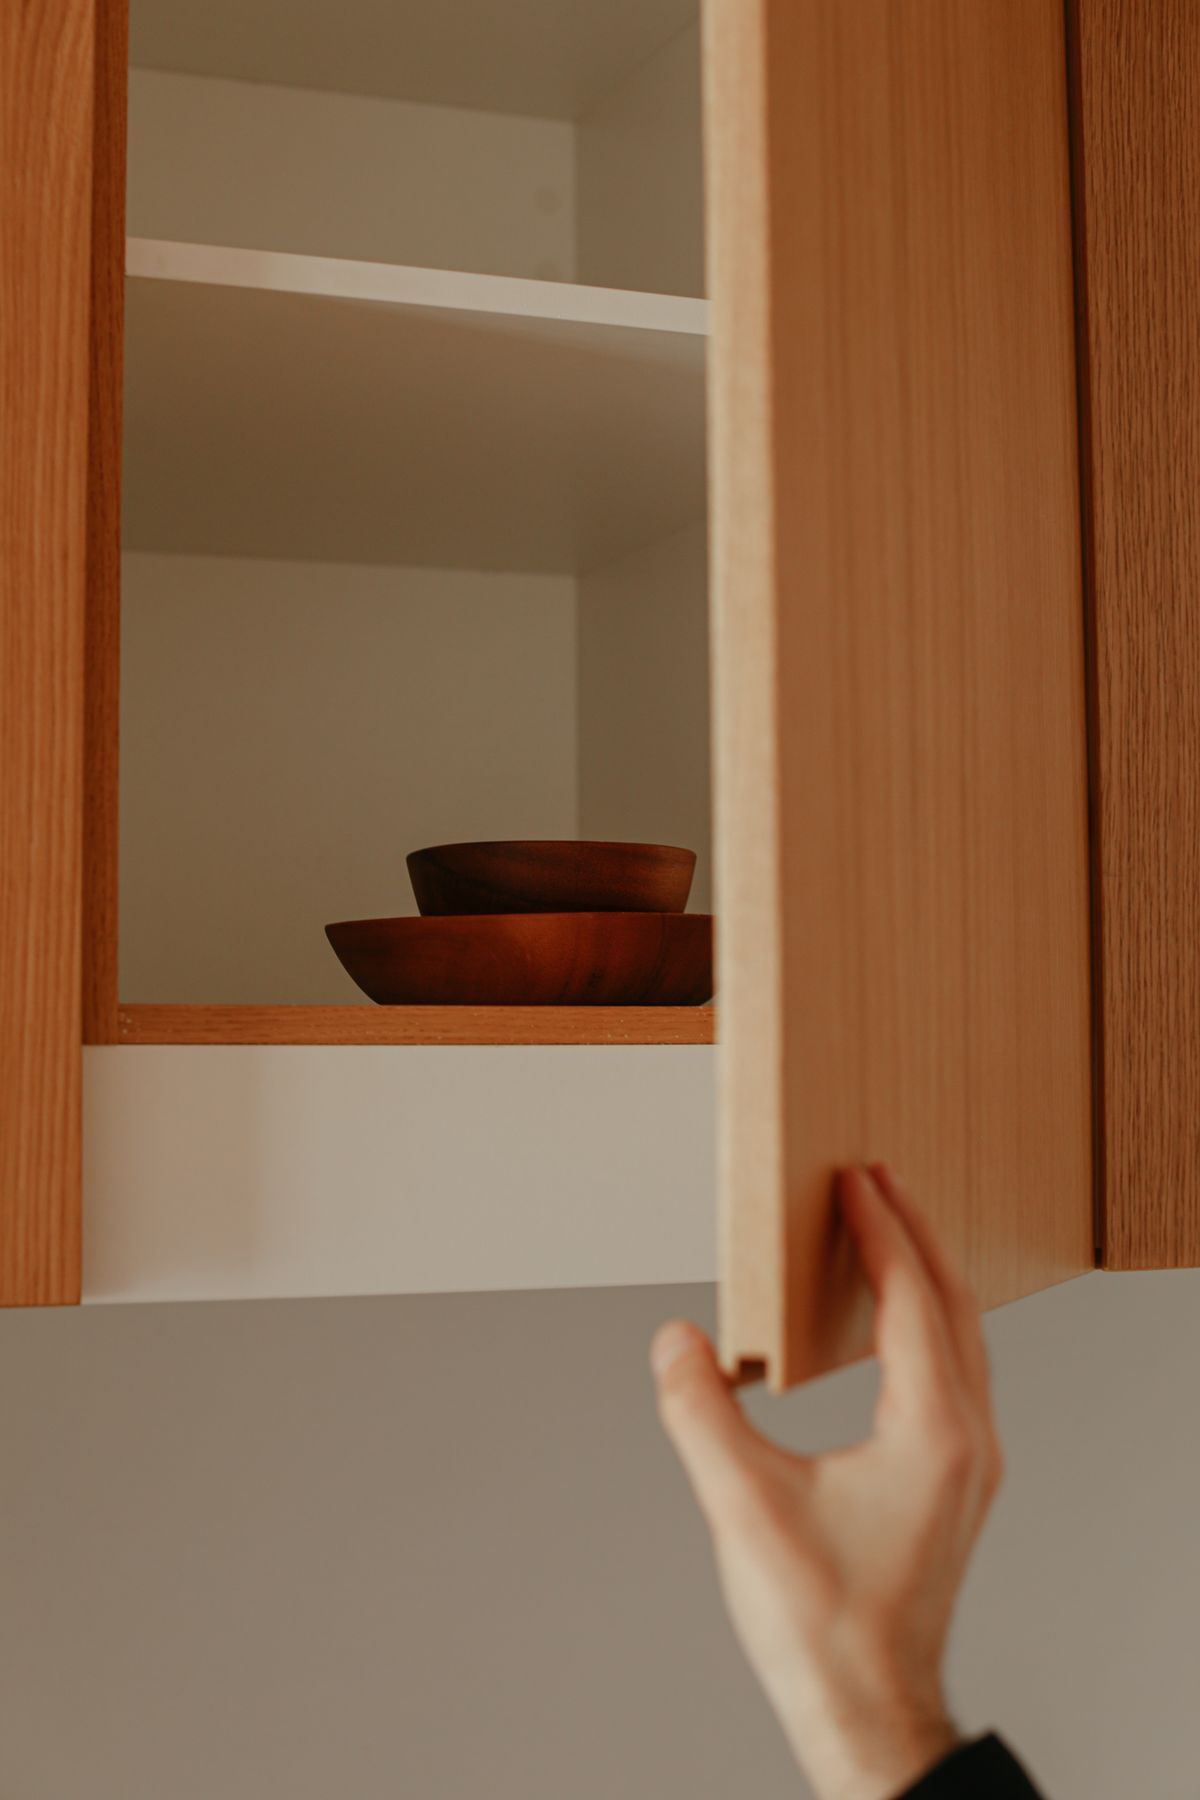
Empty anything fragile from the immediate working area and open the door without leaning on it. Compare its top, bottom and neighbouring edges. A consistent narrow gap suggests sideways alignment; a sloping gap may involve more than one hinge. Photograph the original position and the hinge itself. Many concealed hinges provide separate adjustment directions, but their screw positions vary, so locate the maker's diagram rather than relying on a generic online picture.
Check the mounting first
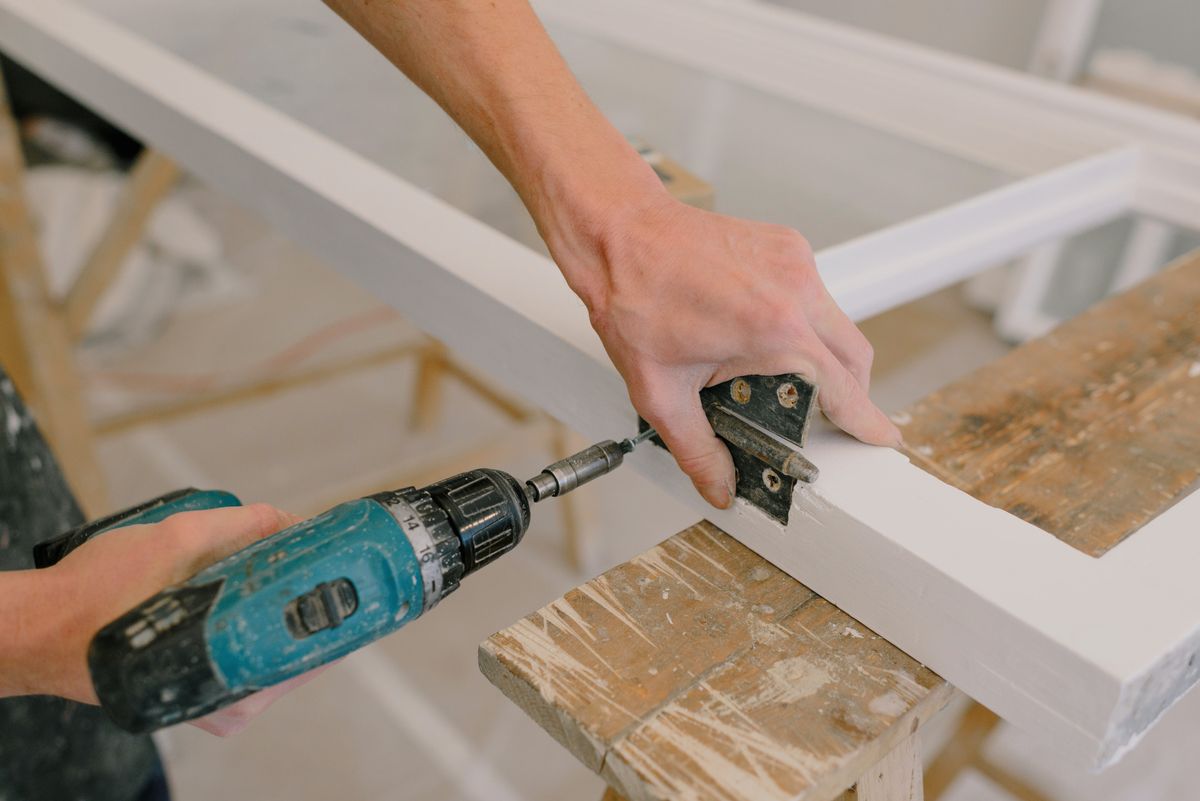
Inspect the hinge cup and cabinet-side plate for movement, cracks or pulling screws. Adjusting alignment will not solve a plate that is separating from chipboard. On a sound fixing, use a screwdriver that fits properly and make only the small adjustment described for that hinge. Keep a supporting hand on the door and change one setting at a time. Avoid releasing mounting screws or dismantling a hinge while the door is hanging from it.
Close, compare and stop early
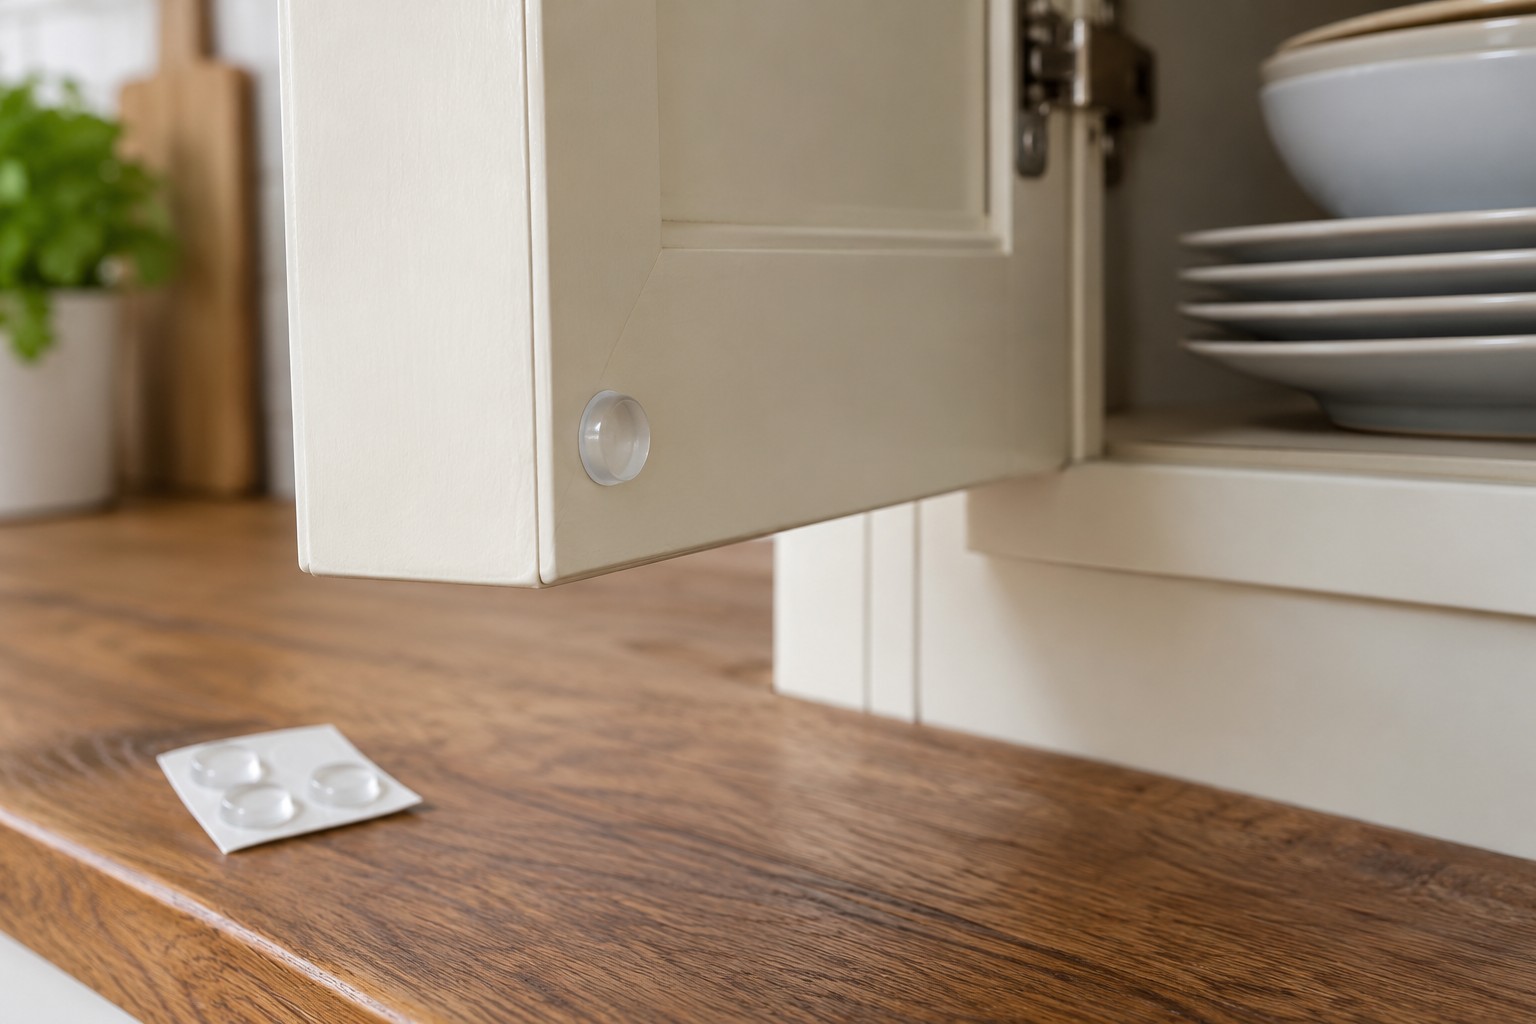
Close the door gently after each change and check the whole perimeter, including clearance with an adjacent handle. The goal is an even-looking gap and free movement, not forcing every edge to match a ruler. Check that the door still opens normally and any soft-close unit operates without a knock. If several cupboards appear out of level together, the cabinet installation may be the issue. Return to the recorded setting if a change makes things worse.
Before you call it done
- Find the exact hinge adjustment diagram.
- Make one small change before retesting.
- Inspect clearance with the neighbouring handle.
Know the limit. Stop if the cabinet material is crumbling, the door is heavy or the hinge mounting is insecure.