Inspect the foot and the floor together
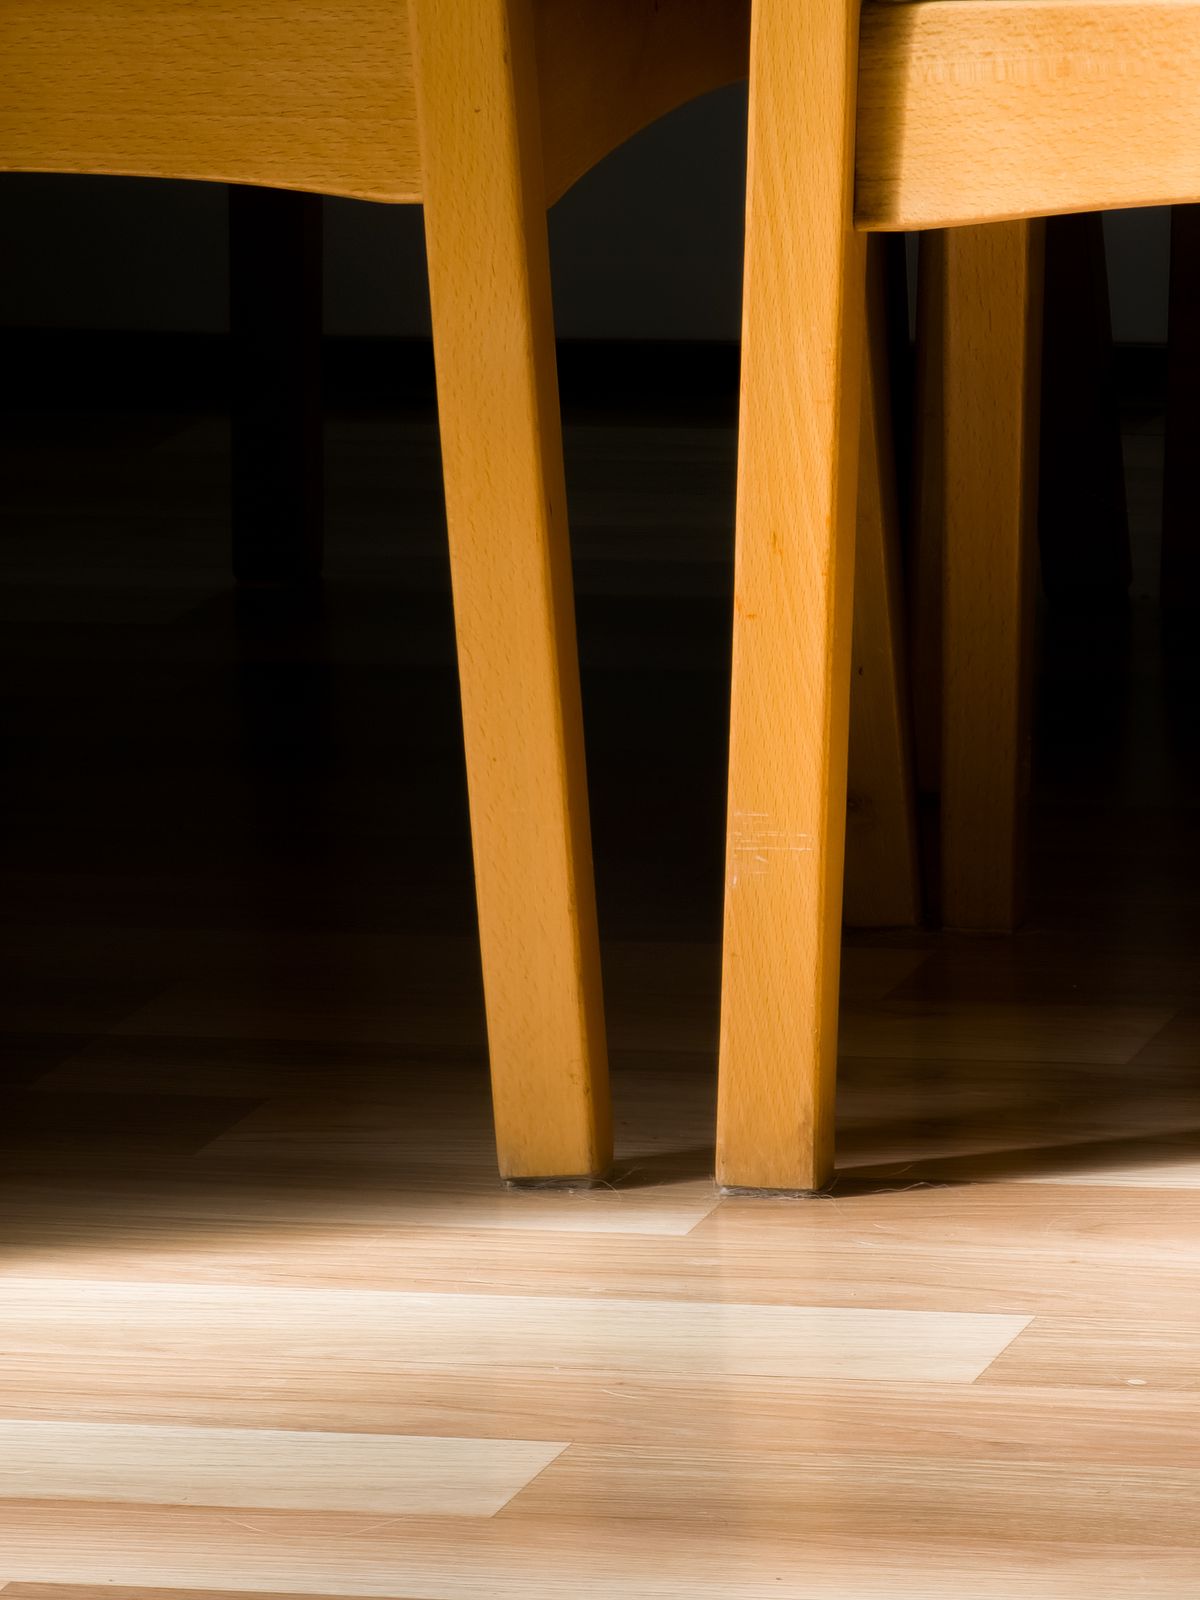
Move a lightweight chair onto a protected surface and turn it only if you can control it safely. Look for grit embedded in the old pad, curled edges or exposed hard plastic beneath it. Check that each chair leg is sound and that a protruding screw is not the real problem. Compare the floor manufacturer's care guidance with the pad description, because soft coverings can still trap abrasive particles and some backing materials may mark certain finishes.
Prepare a small, clean contact area
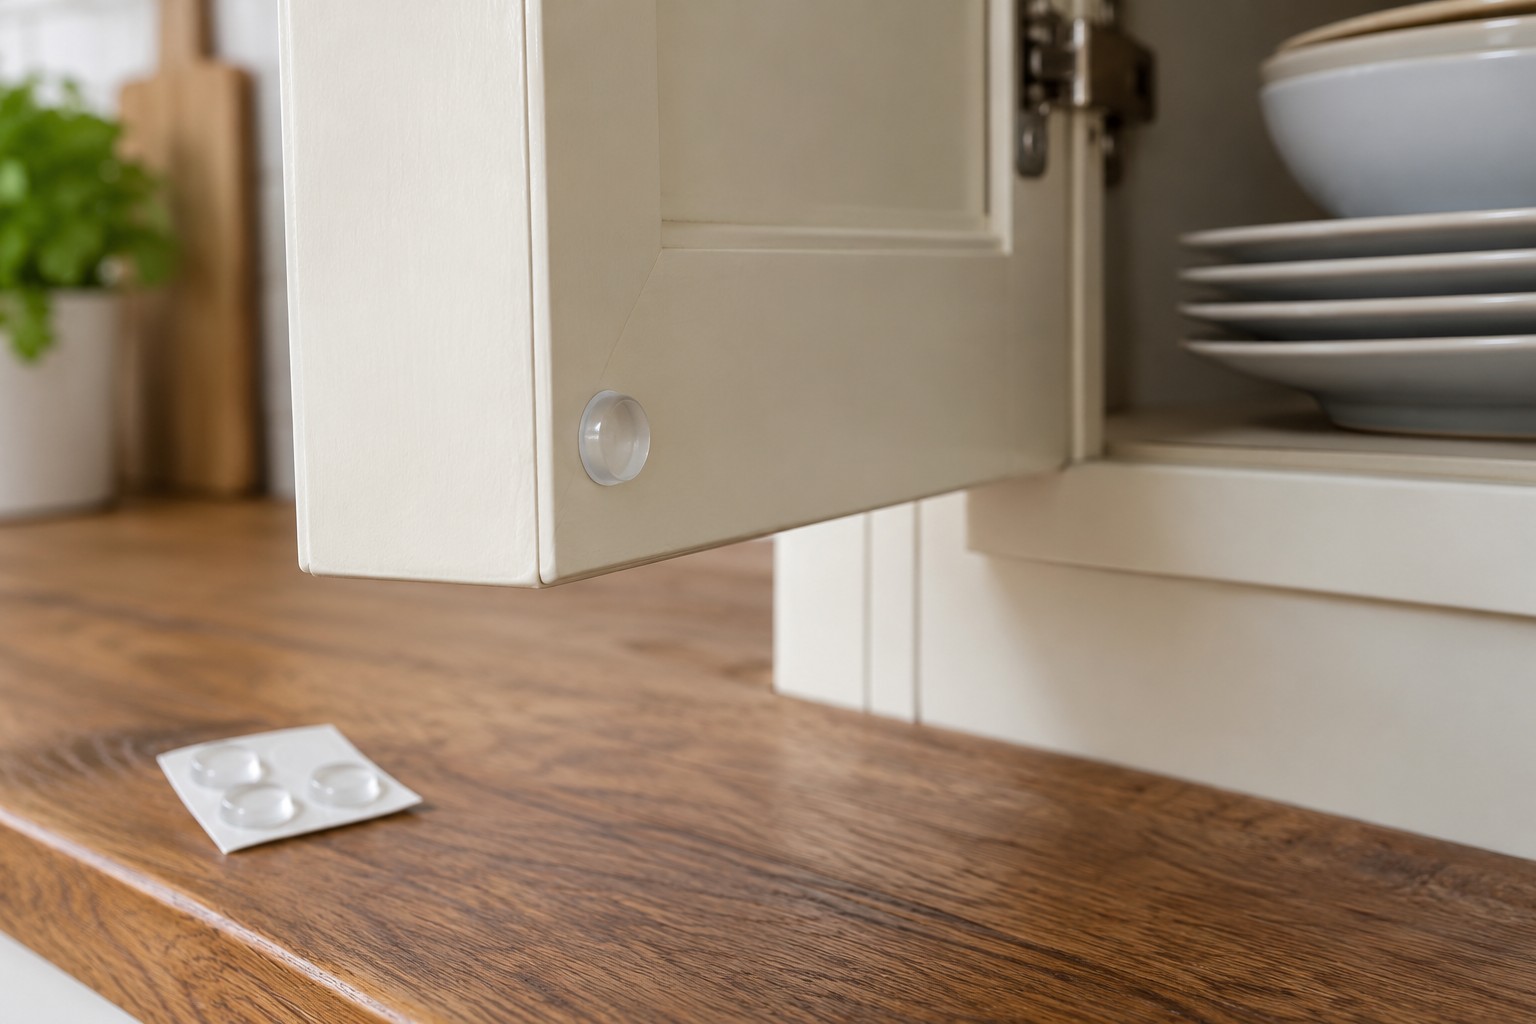
Remove a worn adhesive pad gently using the pad maker's suggested method. Avoid metal scraping tools on finished wood and do not soak the foot in solvent. Remove loose debris, then let any permitted cleaning moisture dry completely. Choose a pad that fits the contact face rather than hanging over the sides. A rounded foot may require a different style from a broad square leg; an adhesive disc is not a universal solution for every chair.
Check performance during normal movement
Apply the pad as instructed, allowing any specified bonding time before use. Set the chair upright and ensure all feet sit evenly. Move it a short distance gently and check that the pad stays centred. Reinspect after the first few uses and periodically lift away trapped grit. Lift furniture when practical instead of dragging it across a room. If pads repeatedly slide off, reconsider the shape, surface compatibility or fixing method rather than stacking new pads over old ones.
Before you call it done
- Remove grit before fitting a replacement.
- Match the pad to the foot and floor.
- Recheck adhesion after the first few uses.
Know the limit. Do not use pads to conceal a damaged chair leg or to compensate for unstable furniture.