Remove soil without damaging the tool
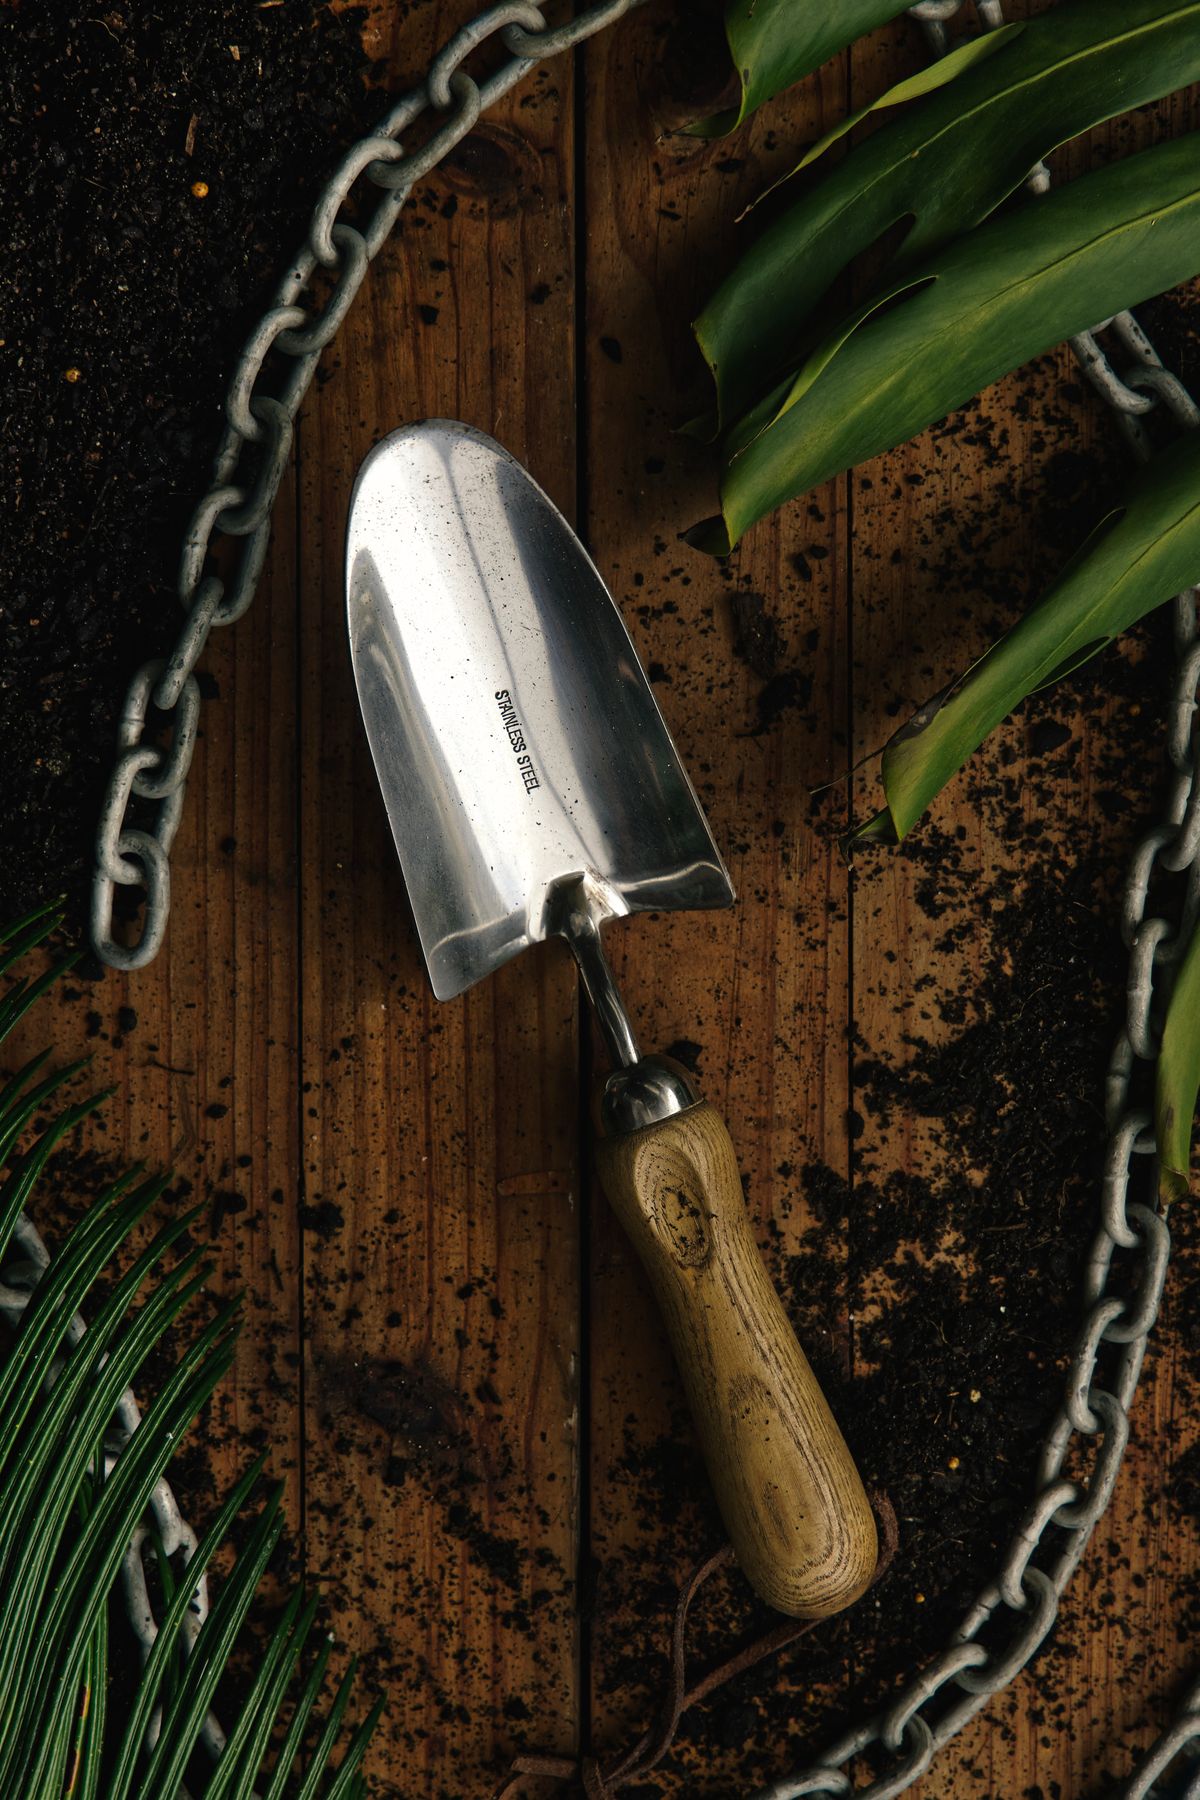
Let clumps loosen and brush them off with a suitable stiff brush, keeping sharp edges and points away from your hands. Use a little water if the tool's materials and maker allow it. Avoid soaking wooden handles or joints unnecessarily.
Do not knock a tool against paving to dislodge hard soil. That can damage the metal, the handle or the surface beneath it. If material will not come off, work on it patiently with a suitable non-damaging tool rather than increasing the force.
Dry and inspect the joins
Wipe the tool and let remaining moisture dry, paying attention to the join between head and handle. Look for a loose head, split wood or a bent working end. Set damaged tools aside clearly so somebody else does not pick them up as ready to use.
Use any protective oil or finish only where recommended for that tool and material. This routine is not a sharpening guide. Bladed tools need their own safe maintenance procedure and suitable protection during storage.
Give each tool an accessible position
Use a stable box, rack or drawer that keeps points contained and handles easy to reach. Keep the storage location dry and out of children's reach. Remove damp gloves and loose soil from the same container so the cleaned tools are not immediately surrounded by moisture again.
Before you call it done
- Soil has been removed without striking the tool.
- The head and handle joint are dry and sound.
- Points and blades are protected in storage.
Know the limit. Do not use a tool with a loose head or cracked handle. Cleaning cannot restore the strength of a damaged component.