Start on a flat protected surface
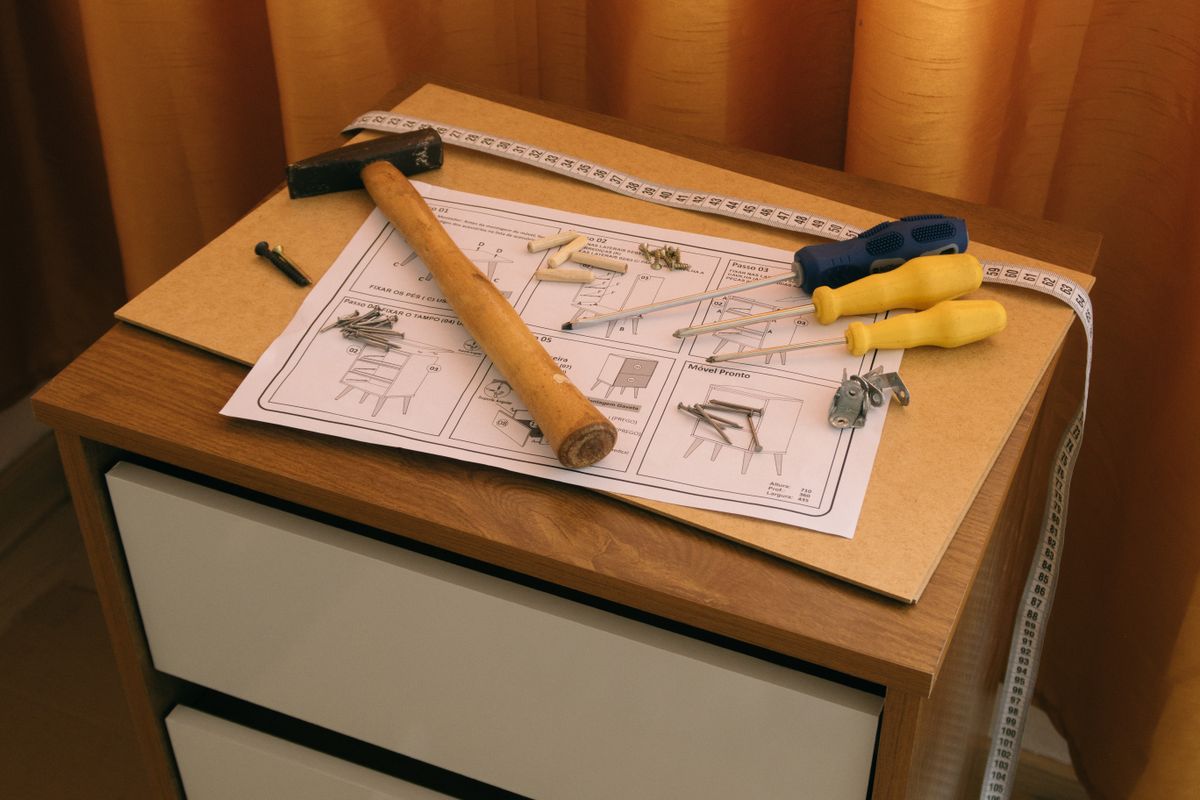
Read the complete instructions and choose a work area that supports the panels evenly. A thick folded blanket can create an uneven base, so use protection that stays flat. Identify the inside and outside faces, grooves and pre-drilled holes before joining parts. Set out the specified connectors for the current stage. Do not fully tighten a connection early if the instructions call for a later alignment step; assembly order often matters to the finished shape.
Check alignment at the stated stage
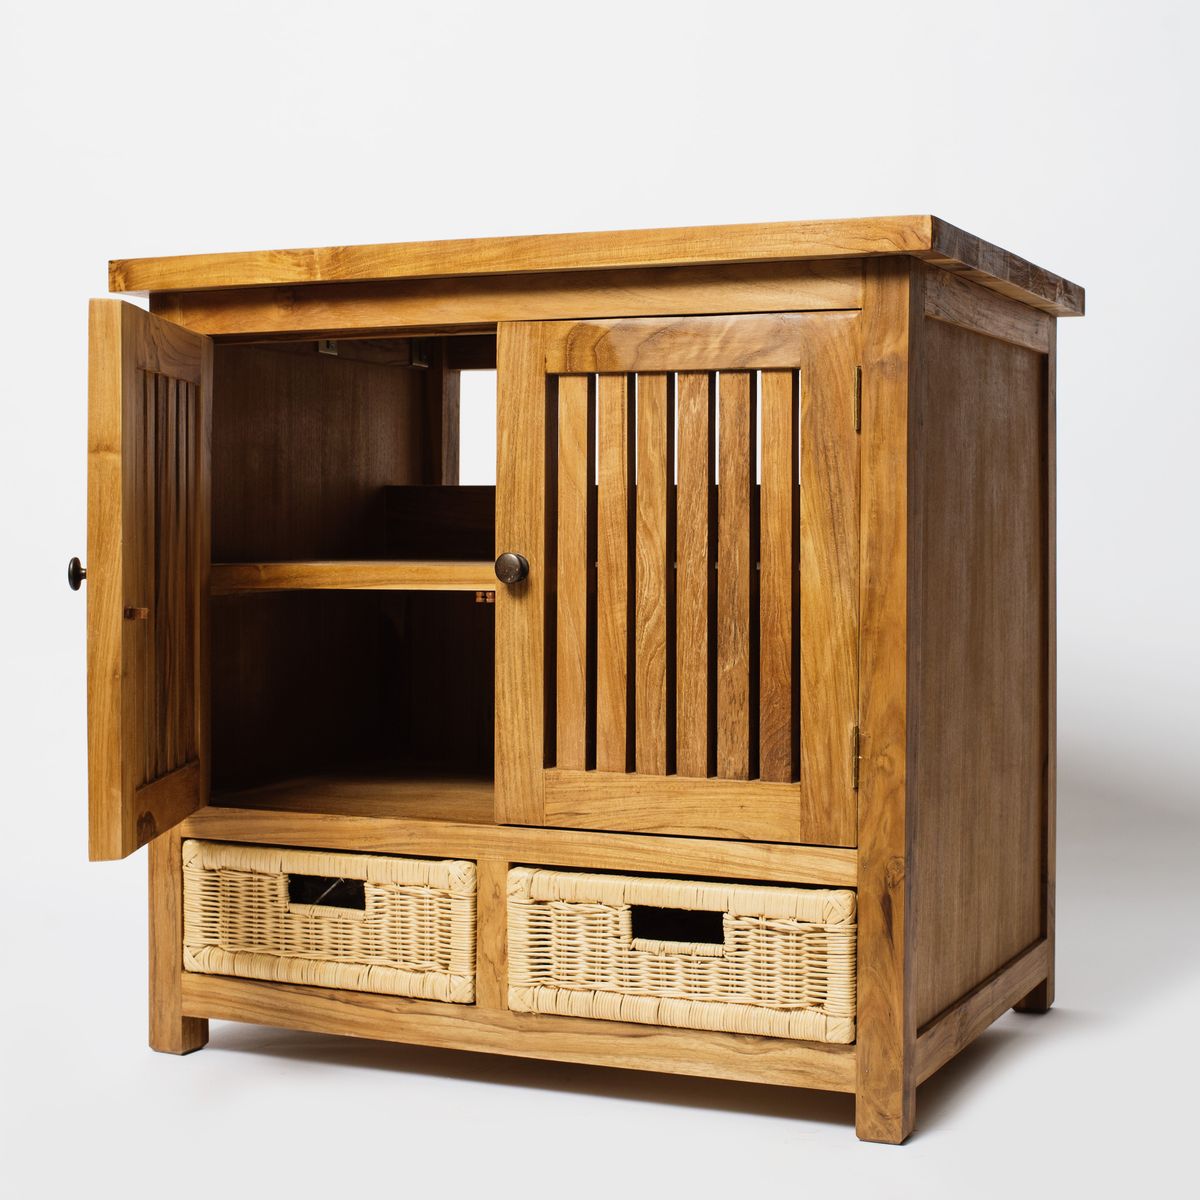
Keep panel edges flush as instructed and compare the cabinet opening visually. Where the guide calls for checking diagonals, measure between equivalent points without bending the tape or pushing the corners. Similar diagonal measurements help assess a rectangular opening, but they do not override the manufacturer's method. Have a second person support a large side rather than letting it hang from one connector. Never hammer a cam fitting or force a misaligned dowel into its hole.
Fit the back and finish as designed
Some backing panels contribute to the unit's stability, so install them in the prescribed orientation and sequence. Do not skip them because the unit will sit against a wall. Tighten specified connections with controlled hand pressure and check doors or drawers only after the structure is complete. Follow all required anti-tip instructions before loading. If gaps remain or a panel is bowed, stop and ask the supplier rather than drilling new holes to make mismatched parts appear aligned.
Before you call it done
- Use a flat protected assembly surface.
- Keep the tightening sequence from the manual.
- Install structural backing and anti-tip parts as specified.
Know the limit. This guide does not replace the product instructions; damaged panels or forced connectors can make furniture unsafe.