Read the complete assembly guide first
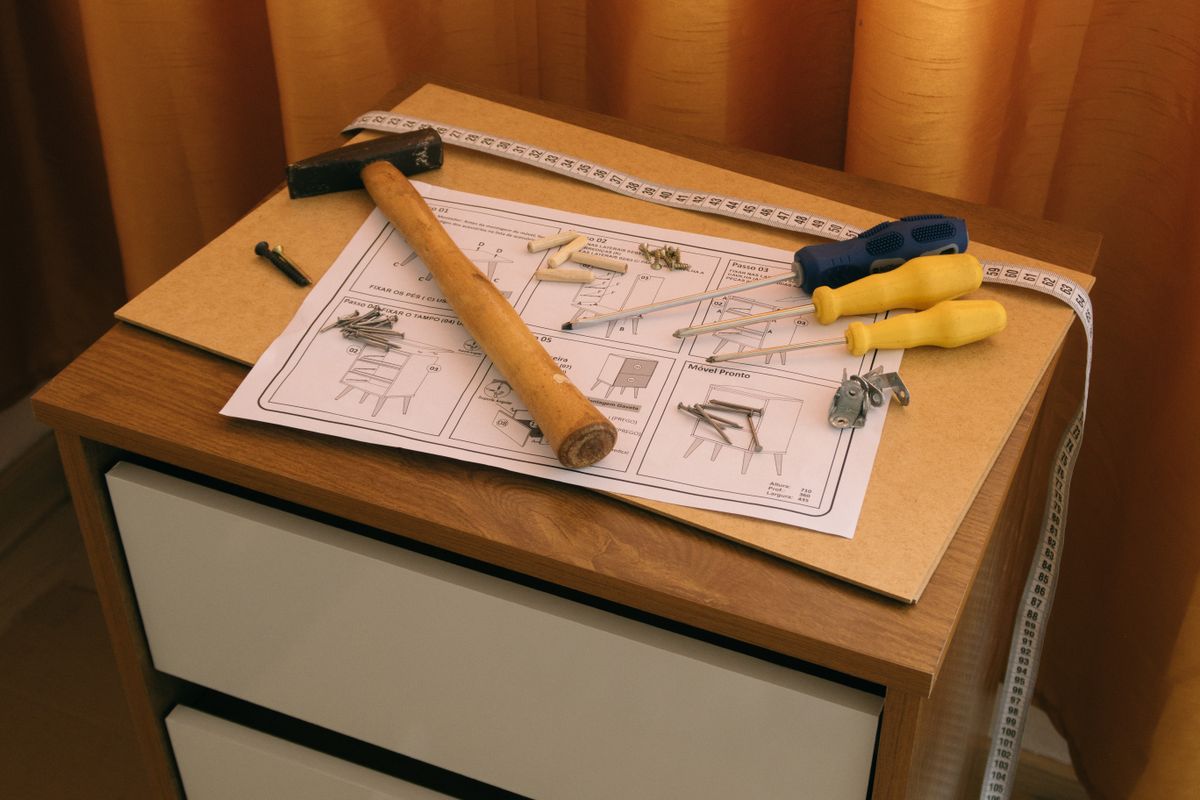
Confirm the product name and instruction version, then look through the full sequence before starting. Note any stage requiring two people, a particular tool or wall anchoring. Choose a clear, well-lit area large enough to turn parts without striking furniture. Keep packaging until you know the item is complete, but move plastic bags and small components away from children and pets. Do not assume the pictured front and back panels are interchangeable.
Group parts by identity and condition
Compare panel labels and hardware quantities with the parts list. Place similar fasteners in separate labelled containers so a small length difference does not disappear in a mixed pile. Examine edges, holes and fittings for transport damage without attempting a repair. Photograph a damaged panel beside its label and retain the packaging information. Avoid inserting bolts into random holes merely to see whether they fit; that can mark a visible face or damage an insert.
Pause at a genuine mismatch
If a part is missing, duplicated or different from the diagram, contact the supplier with the exact component reference. Do not substitute an approximately similar screw from a household jar. Plan how the finished unit will be moved and installed, including the specified anti-tip arrangement. Lay out only the first stage once the inventory is complete, keeping later pieces protected. A short check now is worthwhile because disassembling a partly built unit may damage connectors that are not intended for repeated use.
Before you call it done
- Match the instructions to the exact product.
- Separate similar fasteners by label and length.
- Photograph damage before assembly begins.
Know the limit. Do not omit required wall anchoring or substitute unknown hardware for a missing structural fixing.