Check the print and frame dimensions
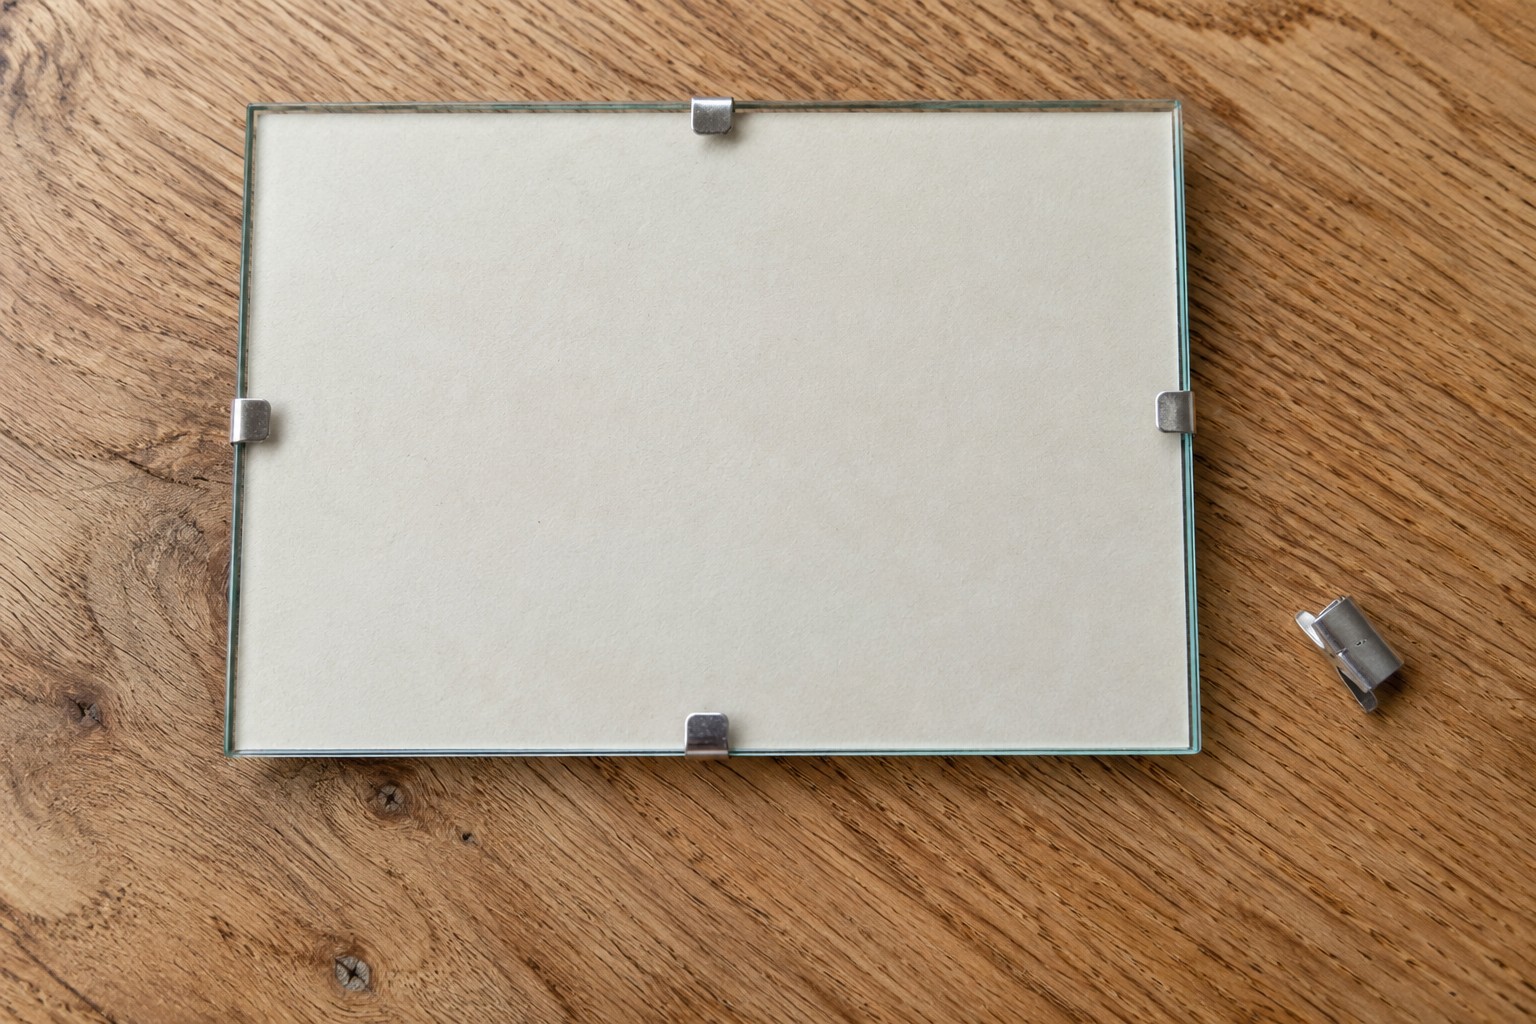
Compare the print size with the frame's stated insert size, not only its outer measurements. Check whether the print's important details will be hidden by clips or a mount. Inspect the frame for chipped glass, sharp damage or a distorted backing before opening it. Choose a clear, padded work surface and keep food, drinks, children and pets away. If the glazing is damaged, replace it appropriately rather than trying to hide a chipped edge under a clip.
Follow the opening sequence
Read the maker's instructions for releasing the clips and support the backing as directed. Keep clips together in a small container rather than leaving them scattered on the floor. Handle glazing by its edges with suitable care, and use only the approved cleaning method for glass or acrylic as applicable. Make sure everything is dry before inserting the print. Do not force thick artwork or extra layers into a frame designed for a thinner insert.
Align before closing the frame
Lay the print square against the backing and check its orientation. Refit clips in the specified positions without levering them against the glass. Look at the front in good light for trapped dust, fingerprints and uneven borders before choosing where to display it. The hanging method must suit the completed frame's weight and construction; clips are not automatically suitable hanging points. Keep the frame away from locations where a fall could cause injury, and consider conservation framing for valuable or irreplaceable work.
Before you call it done
- Check the insert size and glazing condition.
- Keep clips contained during assembly.
- Verify the intended hanging arrangement.
Know the limit. Do not handle chipped glazing or force spring clips; valuable artwork may need specialist framing materials.