Map the usable surface
Clear the shelf and check that it is secure before leaning near it. Measure the flat area and identify brackets, pegs or raised edges that the liner must avoid. Choose paper that lies flat and does not mark the shelf. For a deep cupboard, use several manageable pieces rather than reaching into the back with a large crumpled sheet. Keep the shelf's intended supports and ventilation openings uncovered.
Build the shape with small adjustments
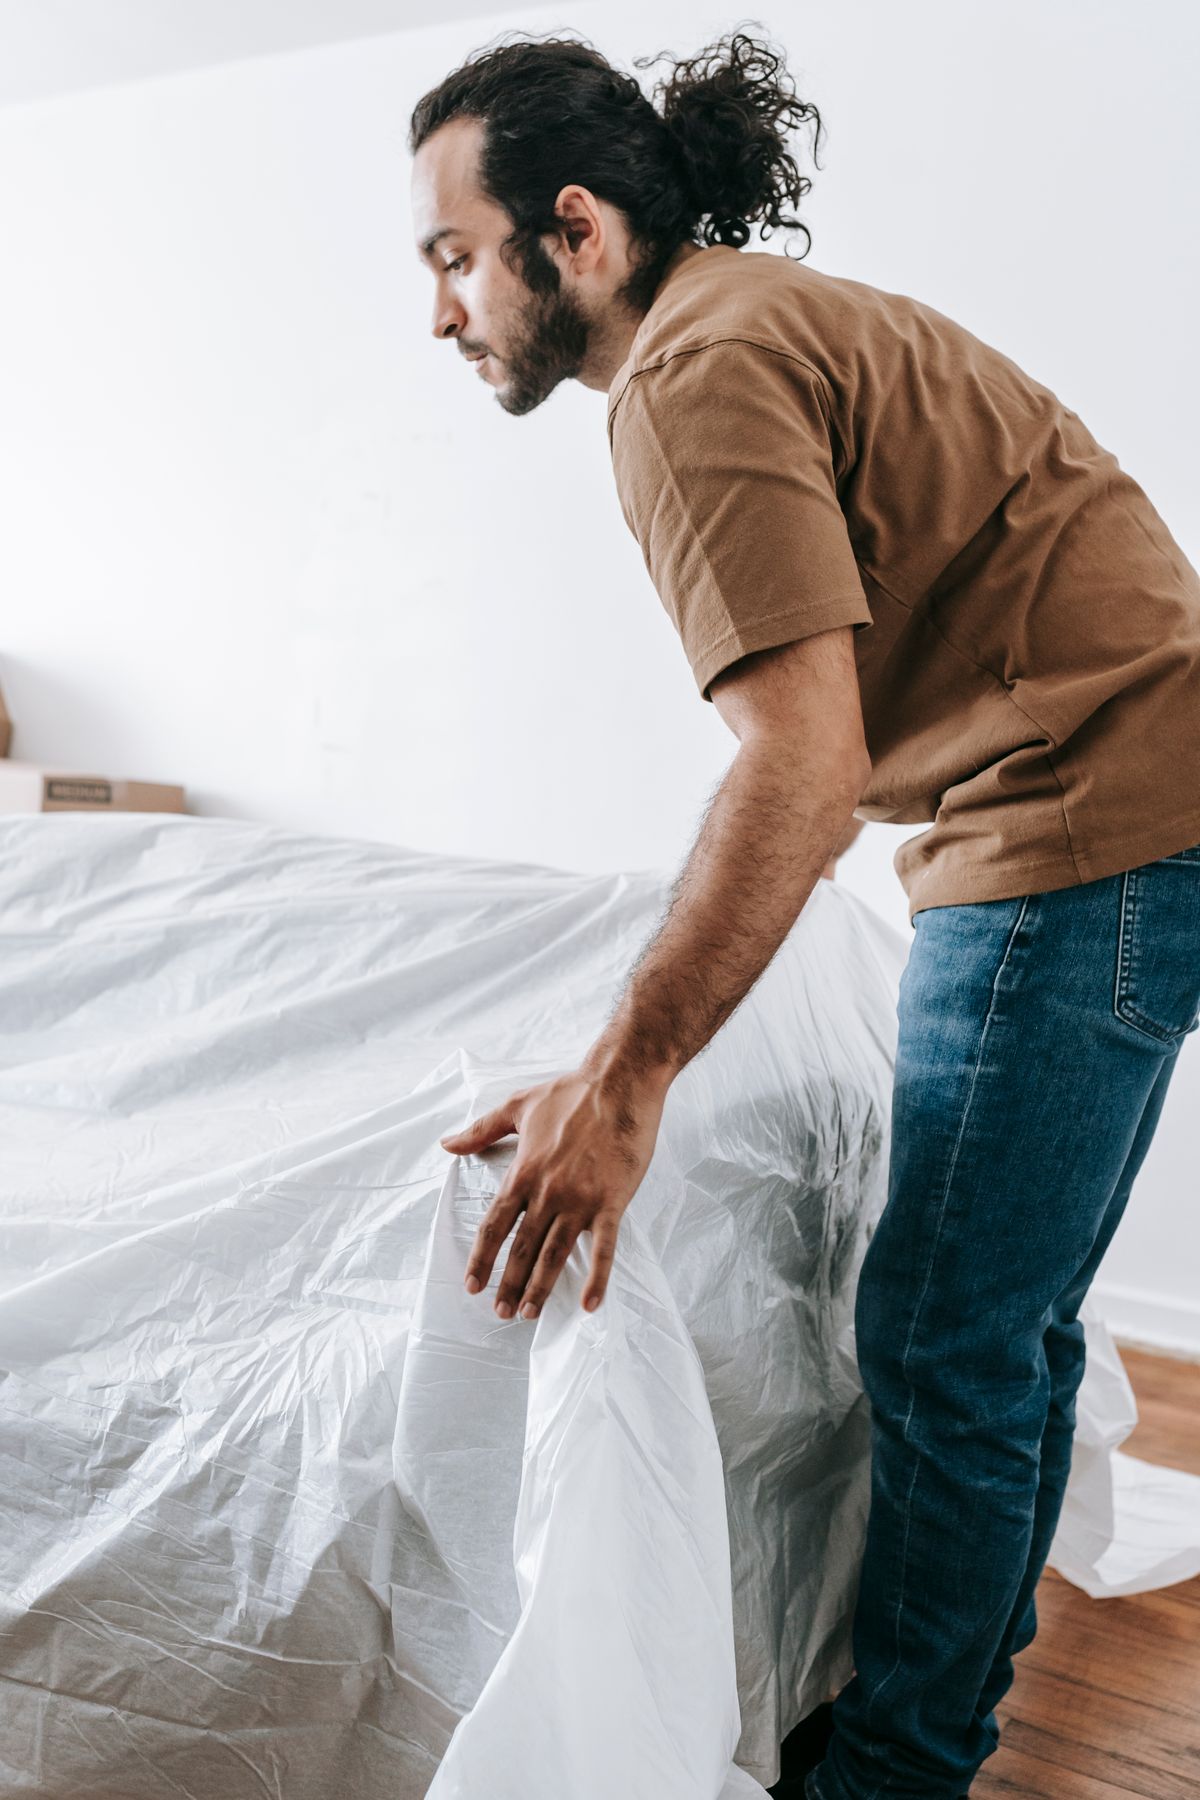
Place paper pieces on the shelf and overlap them, joining them to each other with tape rather than sticking tape to the furniture. Fold or trim around obstacles gradually. Remove the template and check that it can go back in without bending or snagging. Label its top face and front edge so an asymmetric shape is not reversed when transferred. A small clearance is often more practical than a tight edge that curls, but follow the chosen liner's fitting guidance.
Transfer and test the final piece
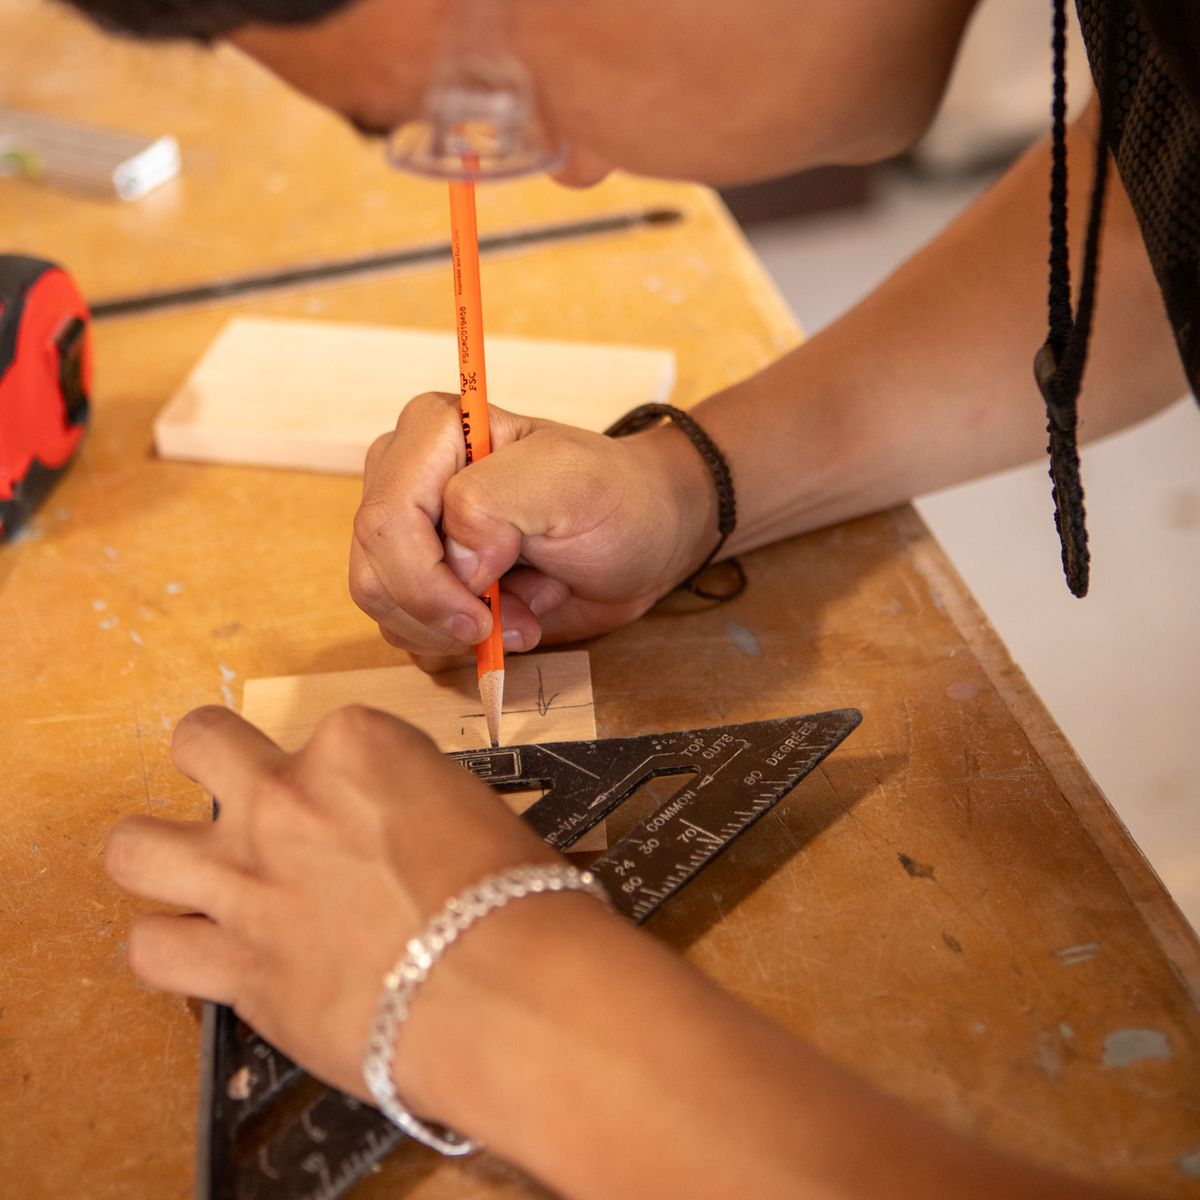
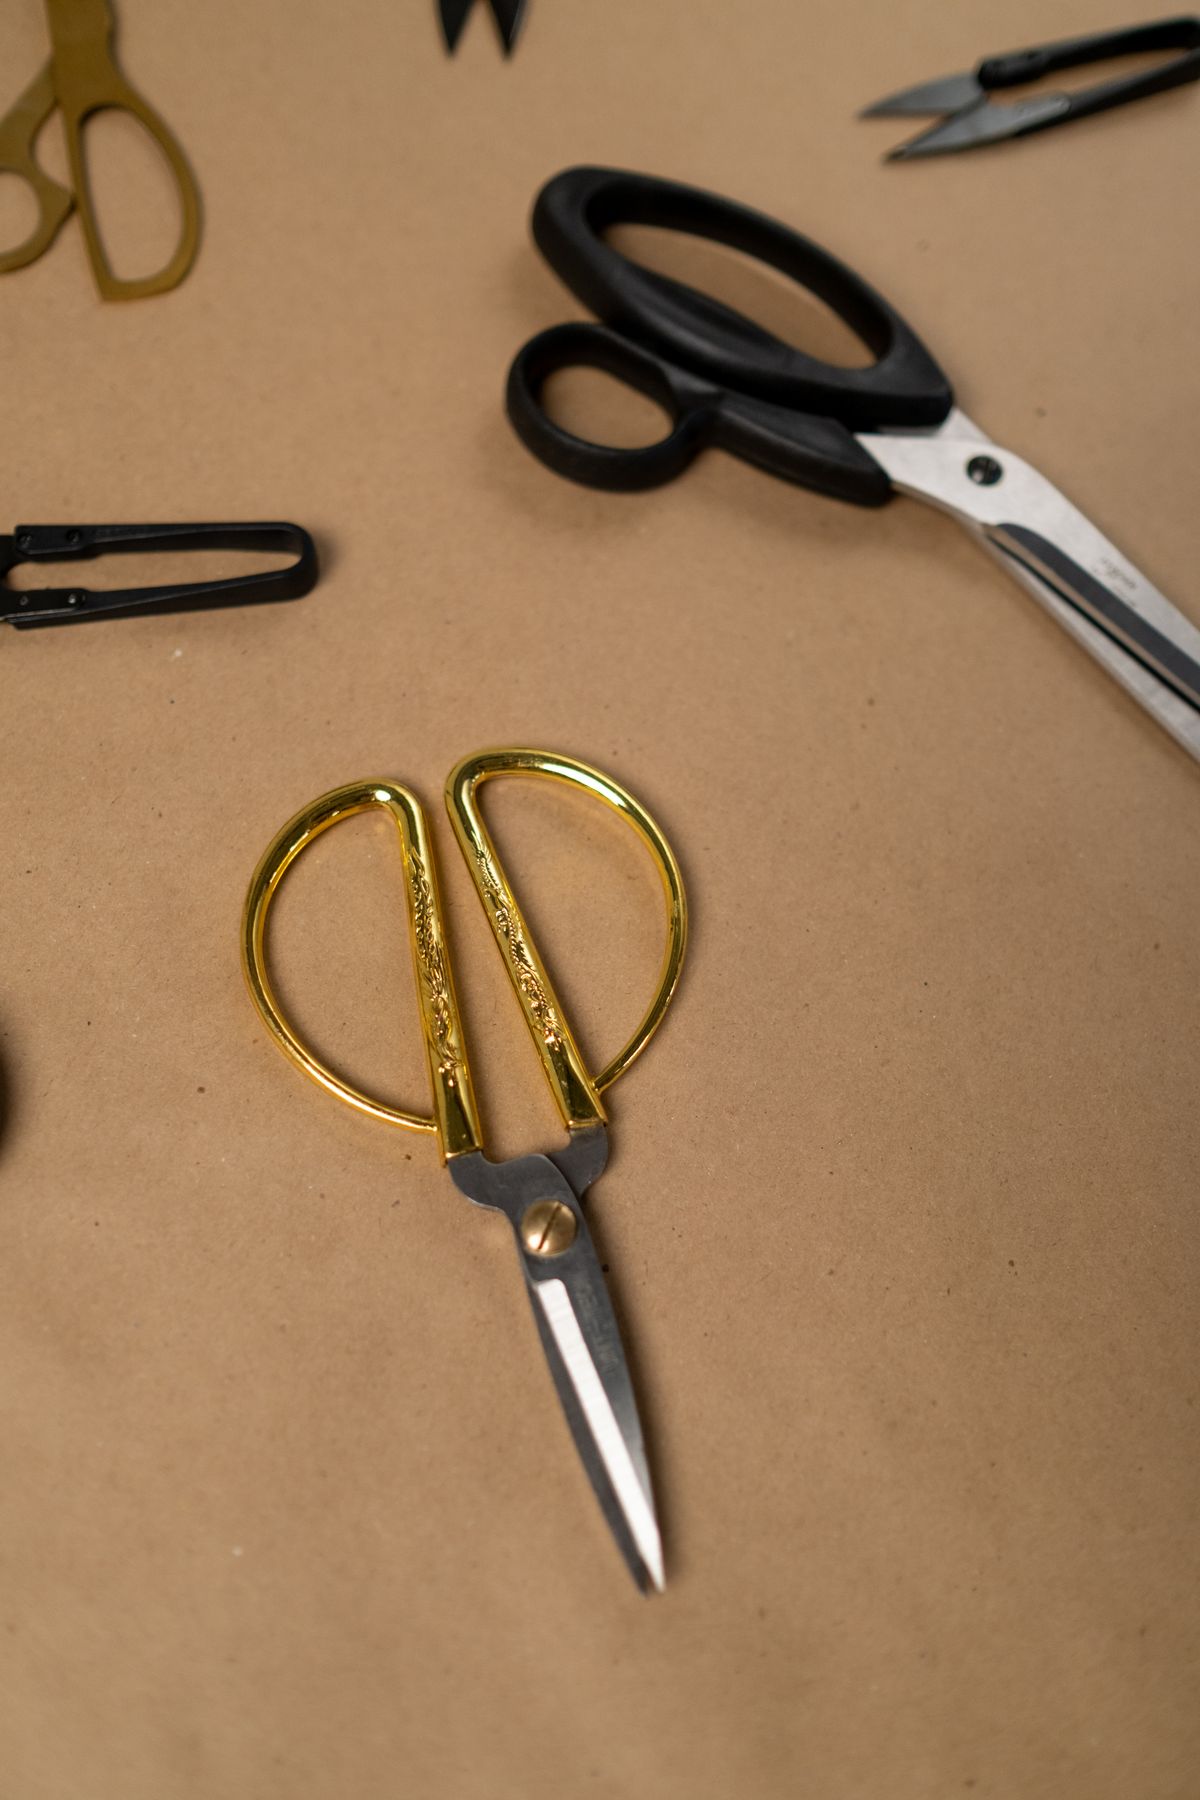
Lay the template on the liner on a protected work surface and mark the outline lightly. Cut safely away from the cupboard, then test the liner before adding any adhesive. Check that it sits flat and does not interfere with shelf pins, doors or items being slid in and out. Keep the paper template if several shelves truly share the same shape, but verify each one rather than assuming identical openings. Lift the finished liner occasionally to inspect for moisture or trapped grit.
Before you call it done
- Join template paper to itself, not the shelf.
- Label the front edge and upper face.
- Test the finished liner before loading the shelf.
Know the limit. Do not cut with a blade inside the cupboard or cover ventilation and structural support points.