Create a simple practice edge
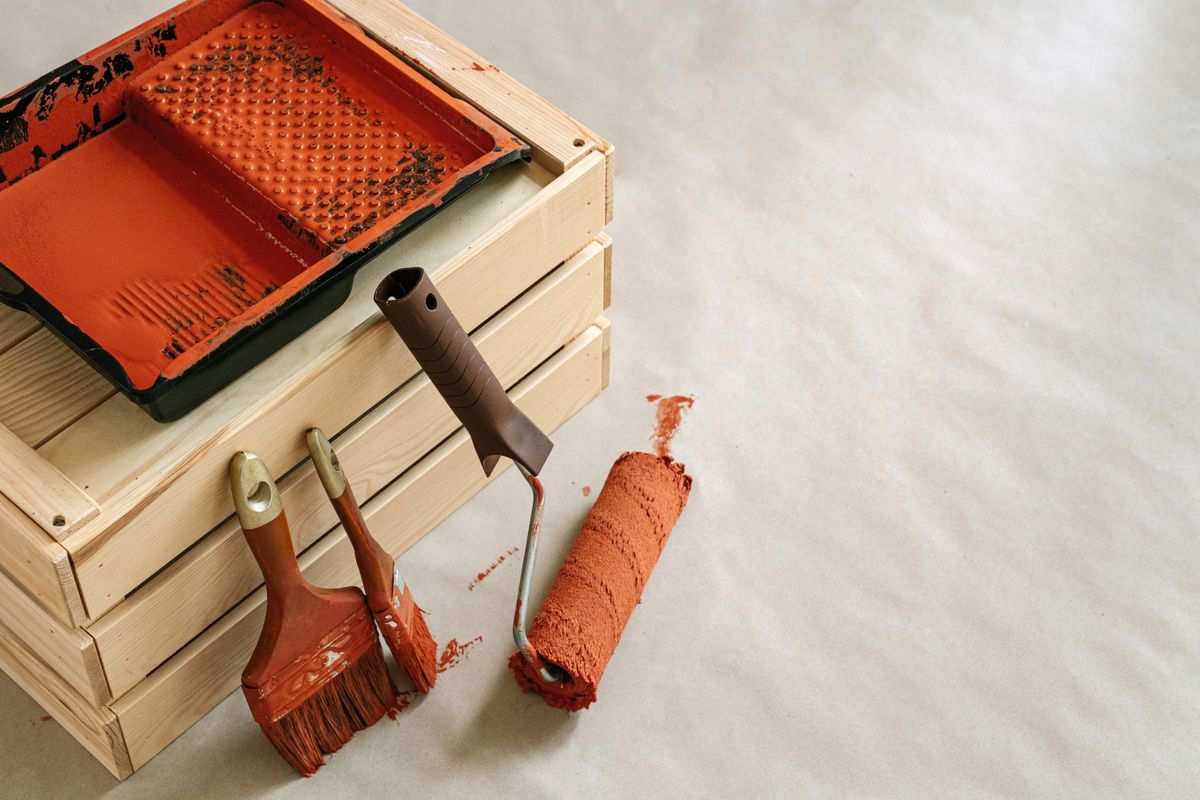
Use a suitable sample board with a clear straight guide and protect the table underneath. Select a brush and paint intended for the finish you plan to use, following preparation instructions for the sample surface. Keep the board stable and position it so your wrist is comfortable. Do not practise directly beside a socket, ceiling fitting or valuable trim. Stir and handle the paint as directed, and keep only a manageable amount in the working container.
Load lightly and move deliberately
Follow the brush maker's guidance for loading, then remove excess without crushing the bristles. Start slightly away from the intended line and work towards it with controlled strokes. Watch the wet edge and avoid repeated scrubbing of paint that has begun to set. Practise starting and stopping cleanly as well as making one long stroke. If the paint runs, reduce the load and check the product's application conditions rather than trying to spread the drip across the whole board.
Assess after drying, not only while wet
Let the sample dry for the stated time and inspect the edge in normal light. Look for ridges, thin patches and a wavering line. Try a second sample with one deliberate change, such as a smaller brush load or a more comfortable board position. Keep notes about what worked so the lesson transfers to the room. Clean the brush by the product's prescribed method and dispose of residues responsibly; do not assume every paint can be washed straight into a drain.
Before you call it done
- Use the actual brush and paint type.
- Change one technique variable at a time.
- Judge the edge after the stated drying period.
Know the limit. This exercise does not cover work at height, electrical fittings or preparation of unknown old painted surfaces.