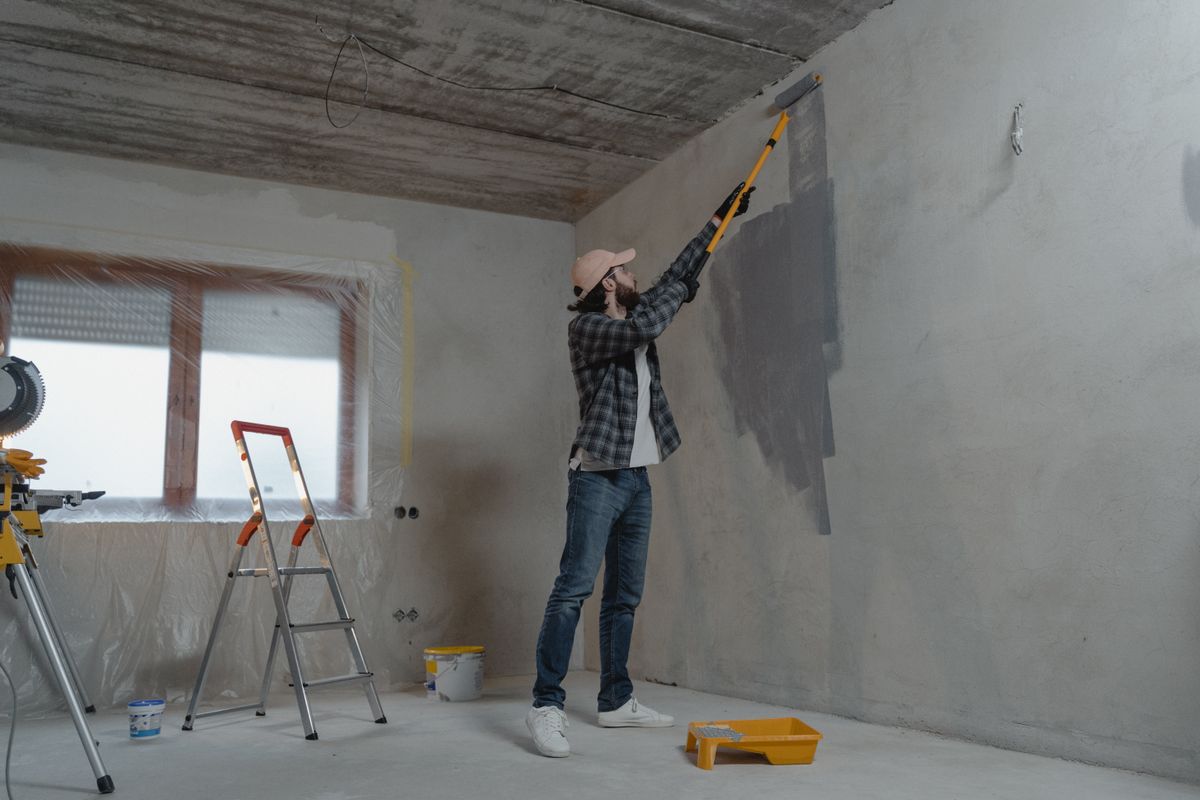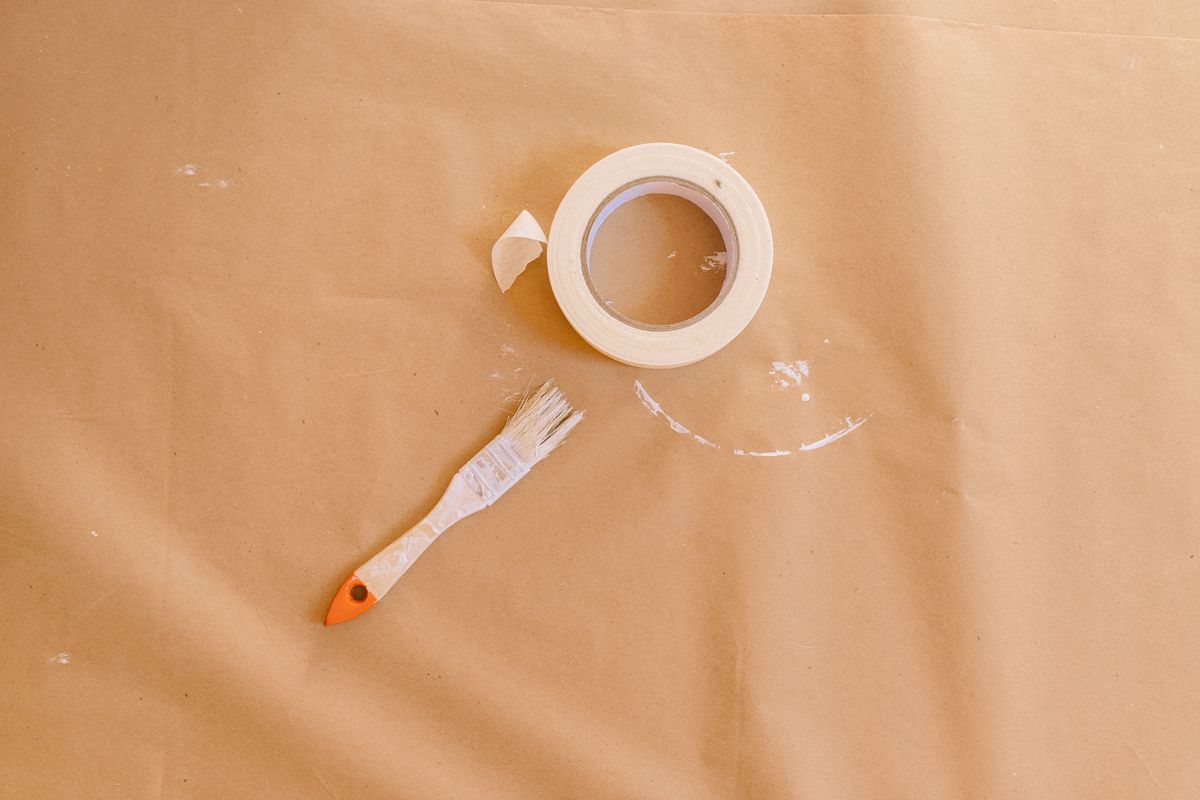
Match the tape to the surface
Read the tape label for permitted surfaces, application conditions and maximum time in place. Fresh paint, wallpaper, varnished timber and fragile old coatings may need different products or may be unsuitable for taping at all. Choose an inconspicuous area that represents the actual finish. Do not test on a loose or flaking section and treat its survival as proof that the rest of the wall is sound. Clear dust using a method compatible with the surface.
Make a realistic small test
Apply a short strip without stretching it, using the pressure recommended by the maker. Leave it for the intended working interval within the product's limits, then remove it as directed. Watch for lifting paint, adhesive residue or a change in sheen. A tiny test that is removed immediately cannot tell you what will happen after a full decorating session. If the finish reacts badly, choose a different method rather than pressing the same tape down harder.
Plan removal before painting
Keep tape edges accessible and avoid burying them beneath excessive paint. Follow the tape and paint instructions about when and how to remove it; their requirements can differ. Pull steadily at the recommended angle rather than jerking the strip towards you. Stop if the underlying finish starts to lift. For awkward edges, practising brush control on a board may be safer than trying ever-stronger adhesive. Label leftover tape with its type so it is not mistaken for a different product later.
Before you call it done
- Check permitted surfaces and time limits.
- Test for the intended working interval.
- Plan removal timing before applying paint.
Know the limit. Do not tape over unstable old paint or use a blade on a finished wall without the relevant safe method.