Look for damage before cleaning
Check whether grout is sound or already crumbling, cracked or missing. Cleaning will not repair a failed joint. Identify the tile material too: natural stone and some decorative finishes need care products selected for them, not a generic bathroom recipe. Remove loose dirt first using a gentle method. If the area stays wet, smells musty or shows recurring growth, address the moisture problem rather than treating appearance as the whole issue.
Work in one small patch
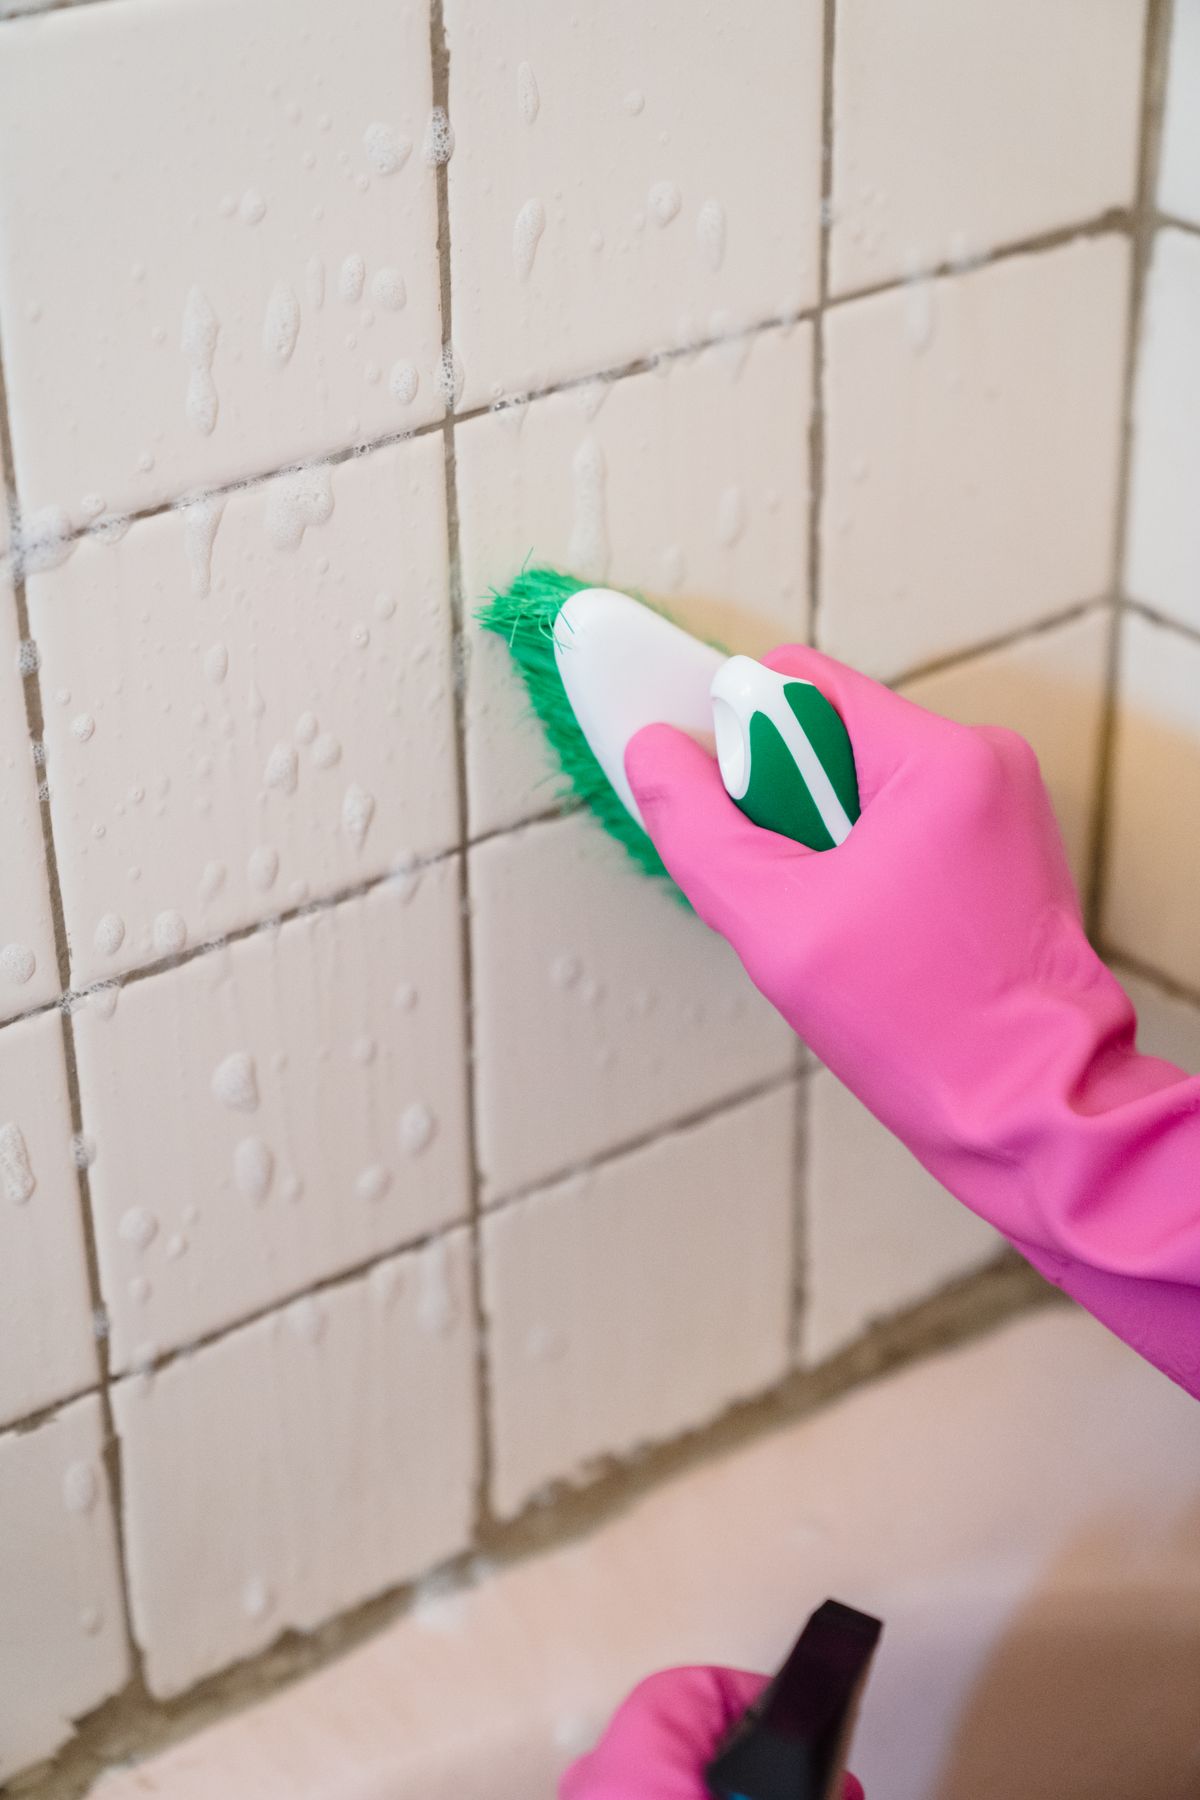
Choose a cleaner approved for both the grout and the surrounding tile, then test it discreetly as directed. Follow the stated dilution and contact time. Use a soft brush with controlled strokes rather than a metal tool that can gouge the joint. Avoid soaking adjacent timber or pushing water beneath loose edges. Do not mix products or add a homemade acid to something already on the surface.
Rinse as directed and let it dry
Remove cleaning residue using the product's instructions and dry the accessible surface. Judge the colour after the grout has dried, because wet grout often appears darker. If a stain remains, consult the grout or tile supplier before escalating to a stronger treatment. Keep a note of the product that worked so future cleaning stays consistent. A gentle regular routine is easier on sound joints than repeatedly trying to restore them with an aggressive occasional scrub.
Before you call it done
- Check grout condition and tile material first.
- Test a compatible cleaner in a discreet patch.
- Judge the result only after drying.
Know the limit. Do not treat widespread mould, persistent damp or failing grout as a cosmetic cleaning job. Investigate the source and obtain appropriate advice where needed.