Count against the parts list
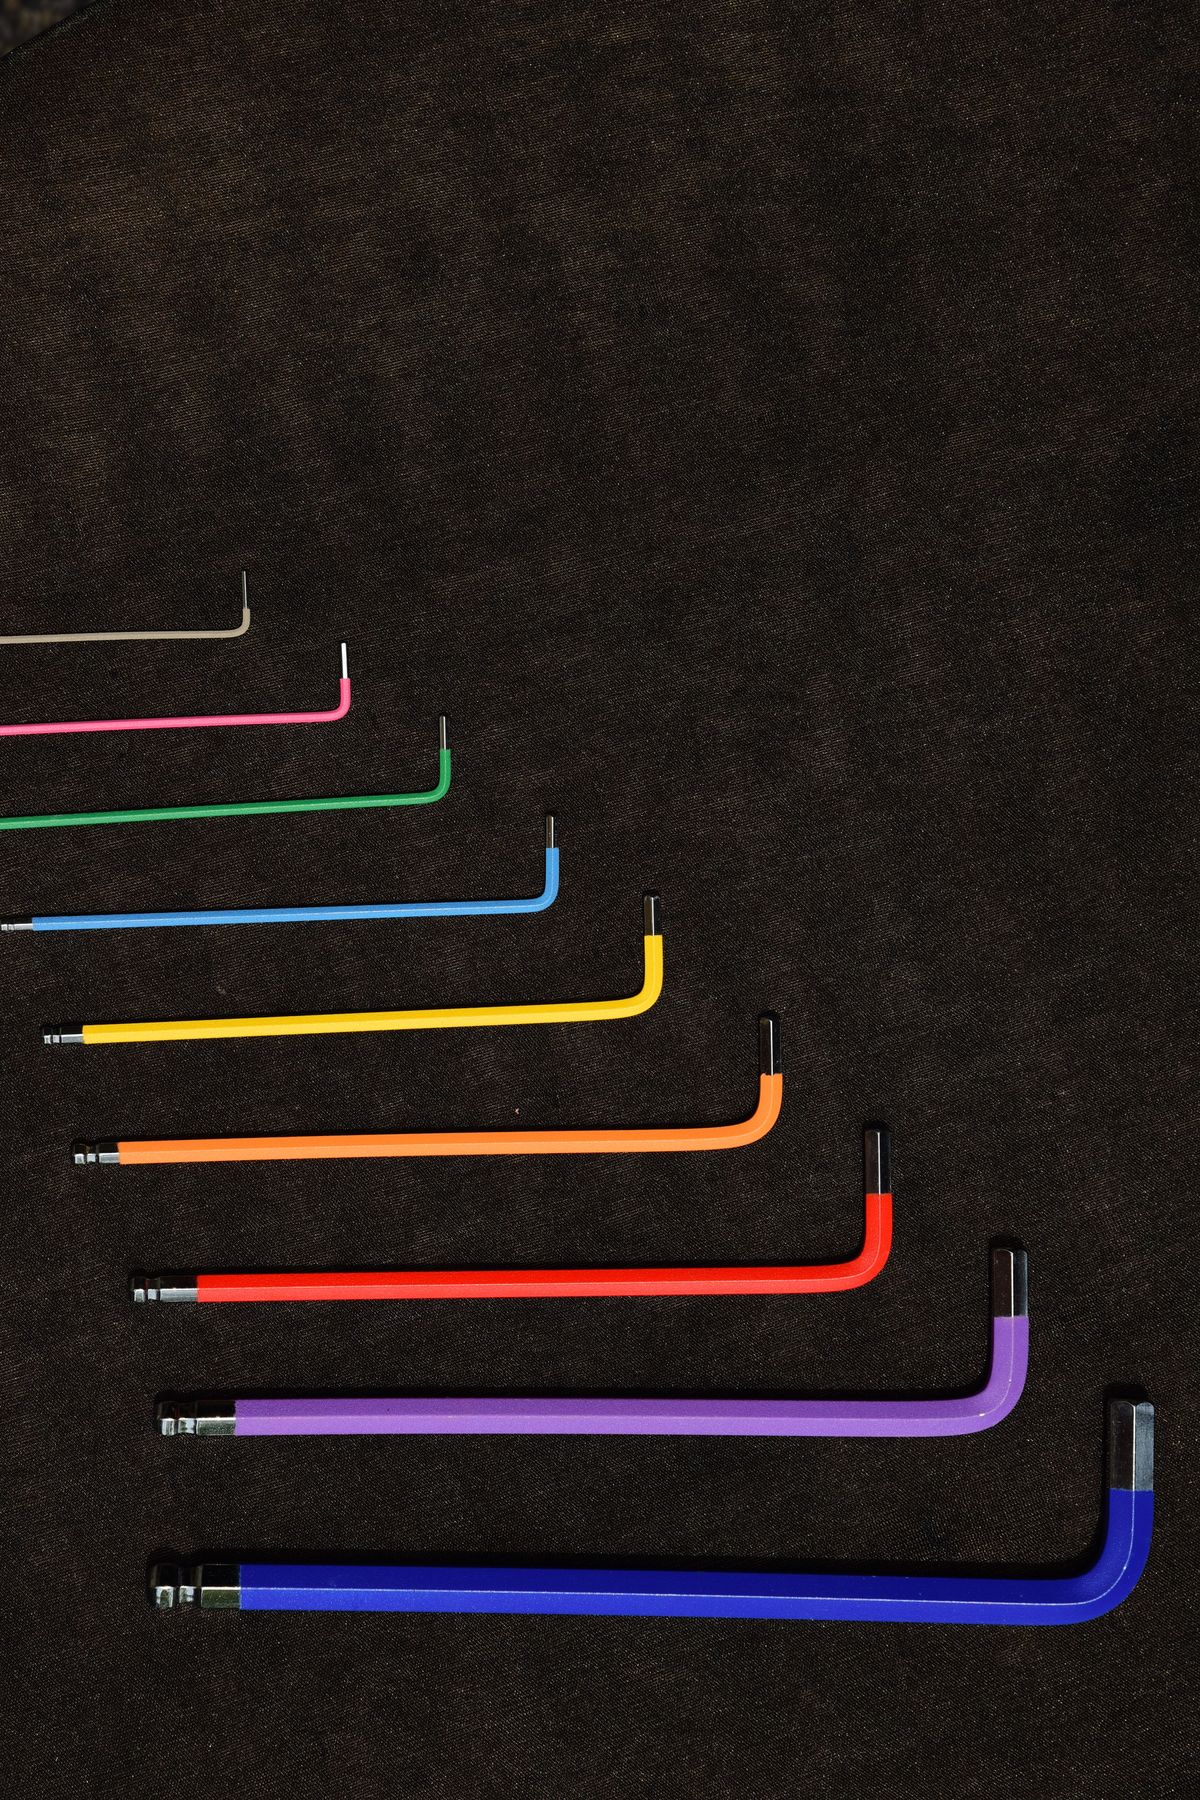
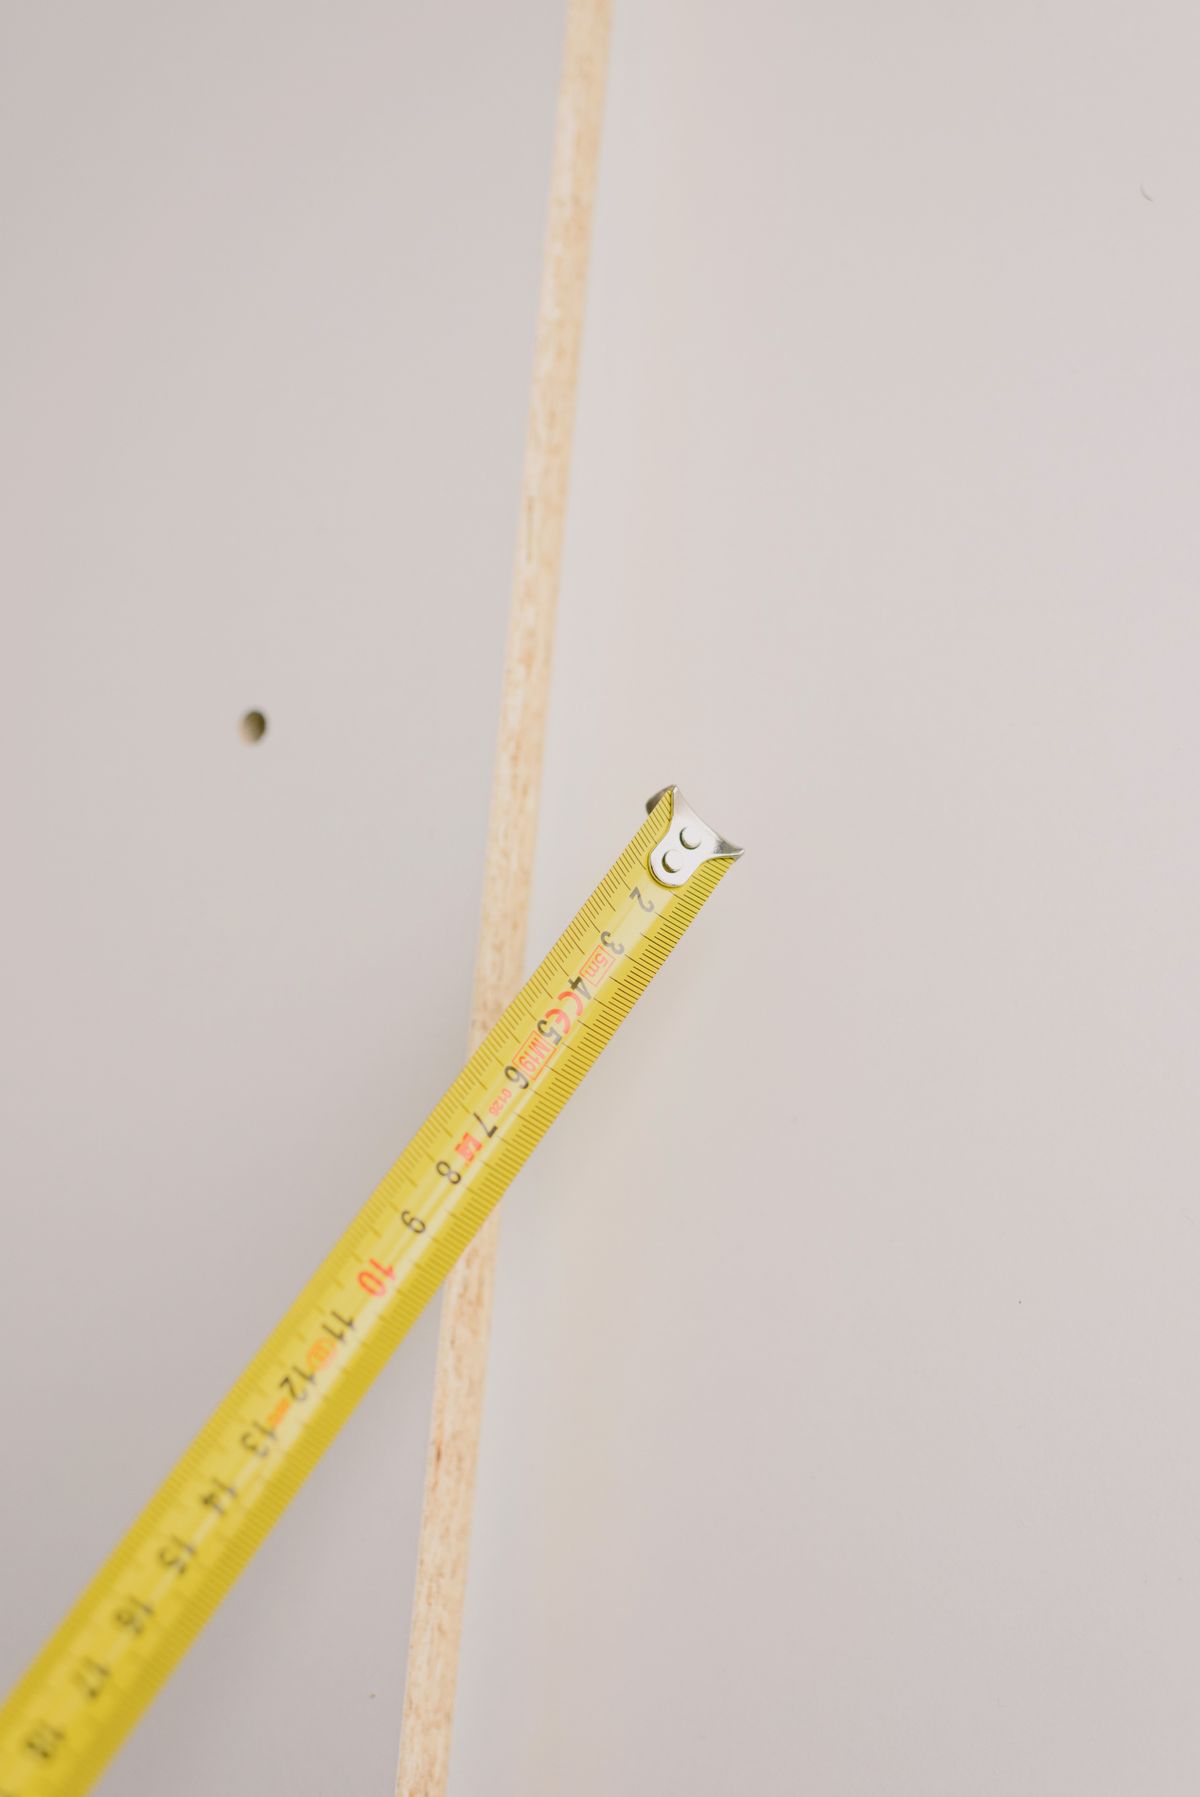
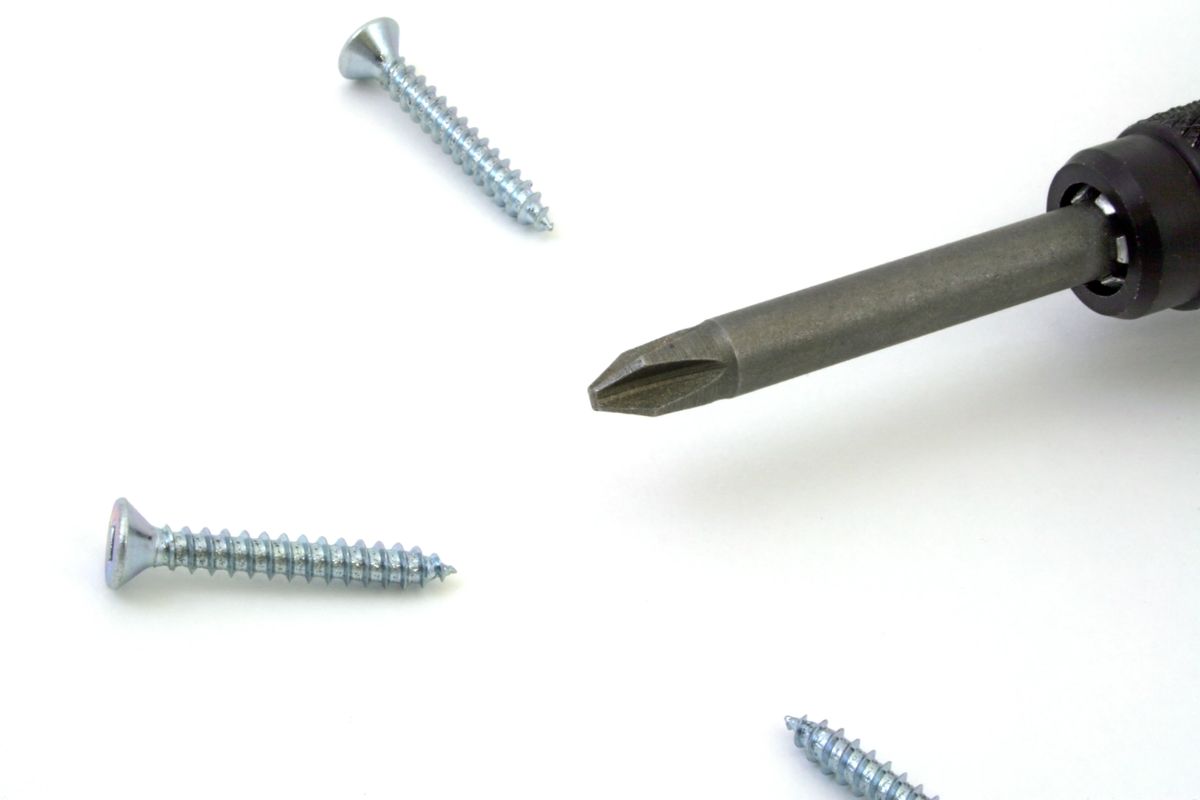
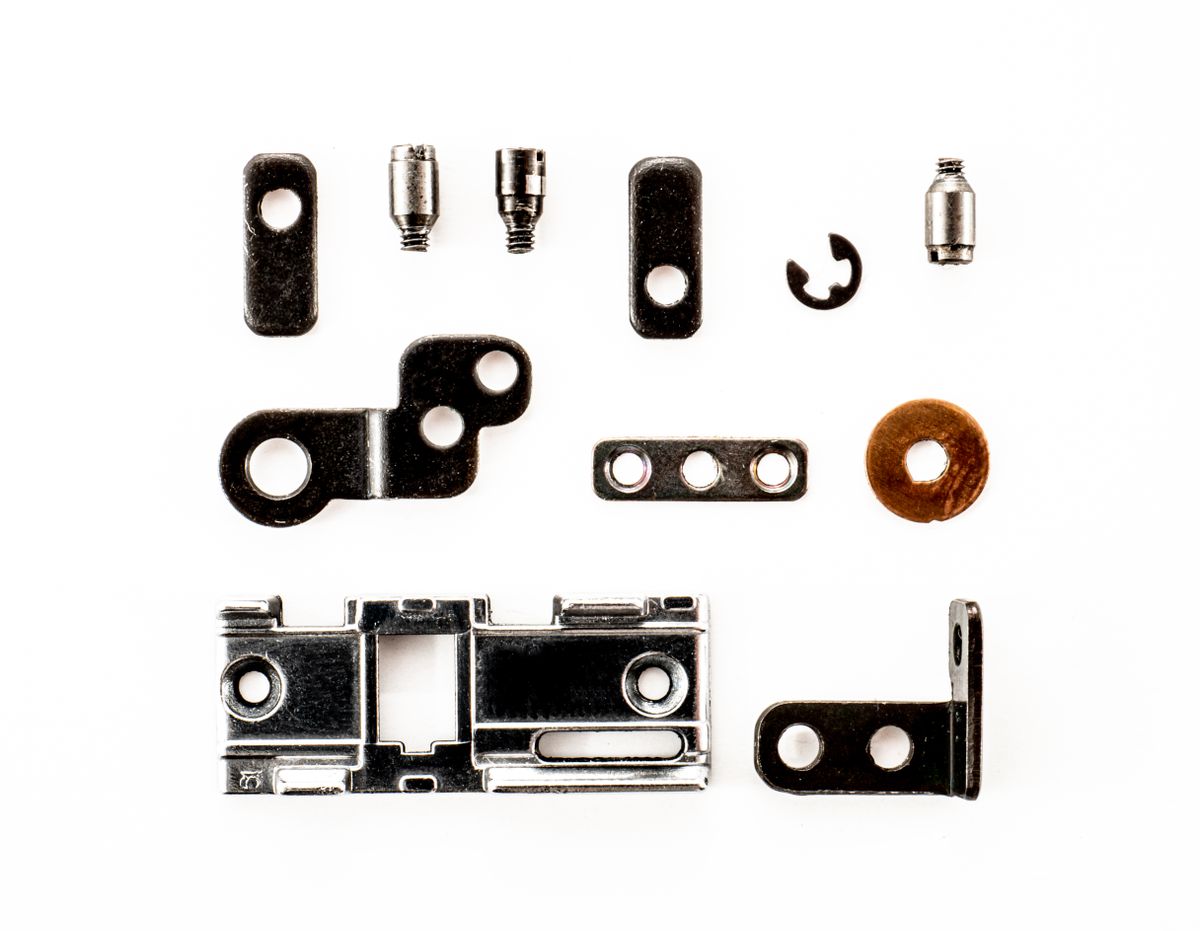
Lay hardware out in a shallow tray on a clear table, away from children and pets. Compare each group with the illustrated parts list before assembly begins. Screw length may include or exclude the head depending on its design, so use the manufacturer's identification method rather than an assumption. Separate washers, spacers and caps even if the drawing places them together. Photograph the full set if an item seems to be missing.
Keep similar pieces visibly separate
Two bolts can have the same head but different lengths or threads. Label small containers with the instruction code, not a guessed description such as 'medium screw'. Keep spare pieces in a separate labelled compartment once the instructions identify them as spares. Do not infer that every extra fixing is optional. A long screw used in the wrong panel can damage the visible face or fail to hold the joint correctly.
Stop at the first mismatch
If the count or shape does not match the manual, check the packaging folds and all bags before contacting the supplier. Do not substitute a fixing from a general toolbox simply to keep the build moving. Keep partially assembled parts stable while waiting for a replacement, and do not use the item until its required connections are complete. At the end, compare any leftovers with the stated spare-parts list and retain the exact model details for future support.
Before you call it done
- Count every type against the supplied list.
- Label lookalike fixings with instruction codes.
- Investigate unexplained leftovers before use.
Know the limit. Missing or incorrect load-bearing hardware is not a cosmetic issue. Do not use an incomplete assembly or improvise substitutes without the manufacturer's approval.