Close the jaw onto the flats
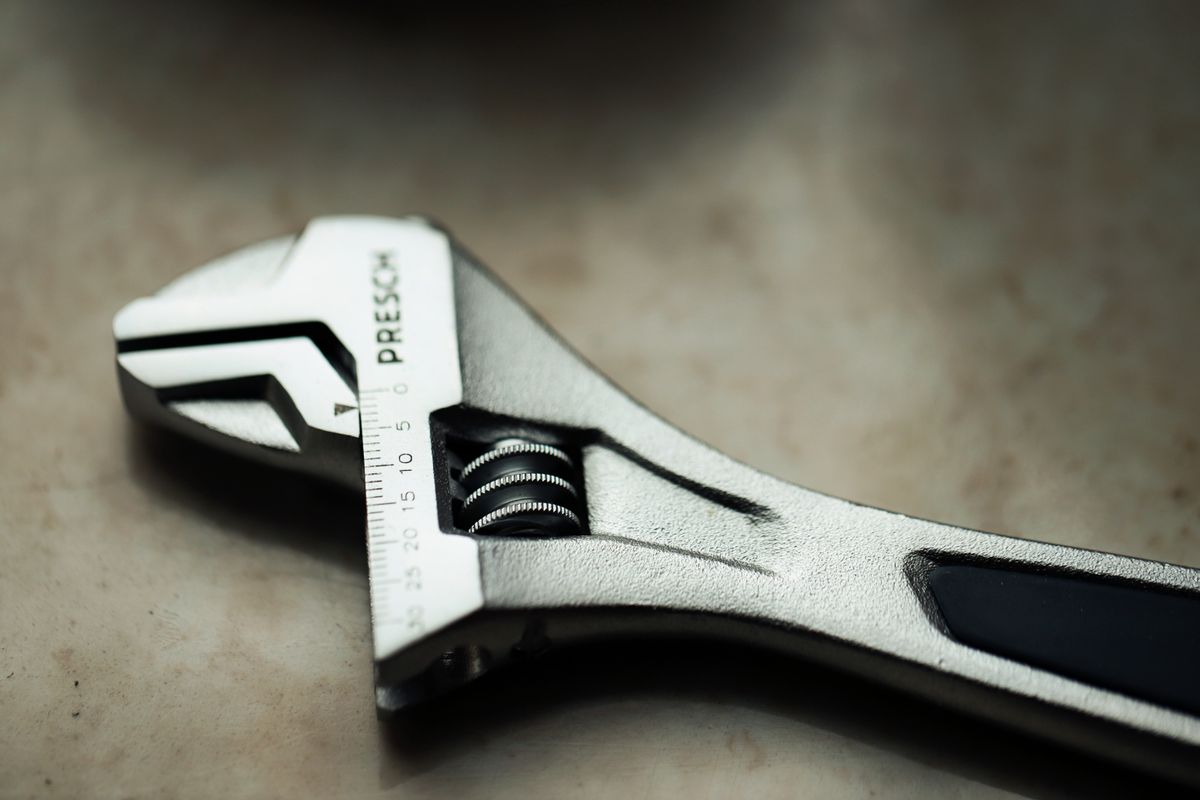
Open the spanner only as far as needed to reach the nut, then turn the adjustment until both jaws sit snugly against opposing flat faces. The tool should not rock visibly. Check that the nut is fully within the working jaws, not perched at their ends. Remove surface dirt that prevents a close fit, provided this can be done without damaging the finish or disturbing the assembly.
Check the manufacturer's direction guidance
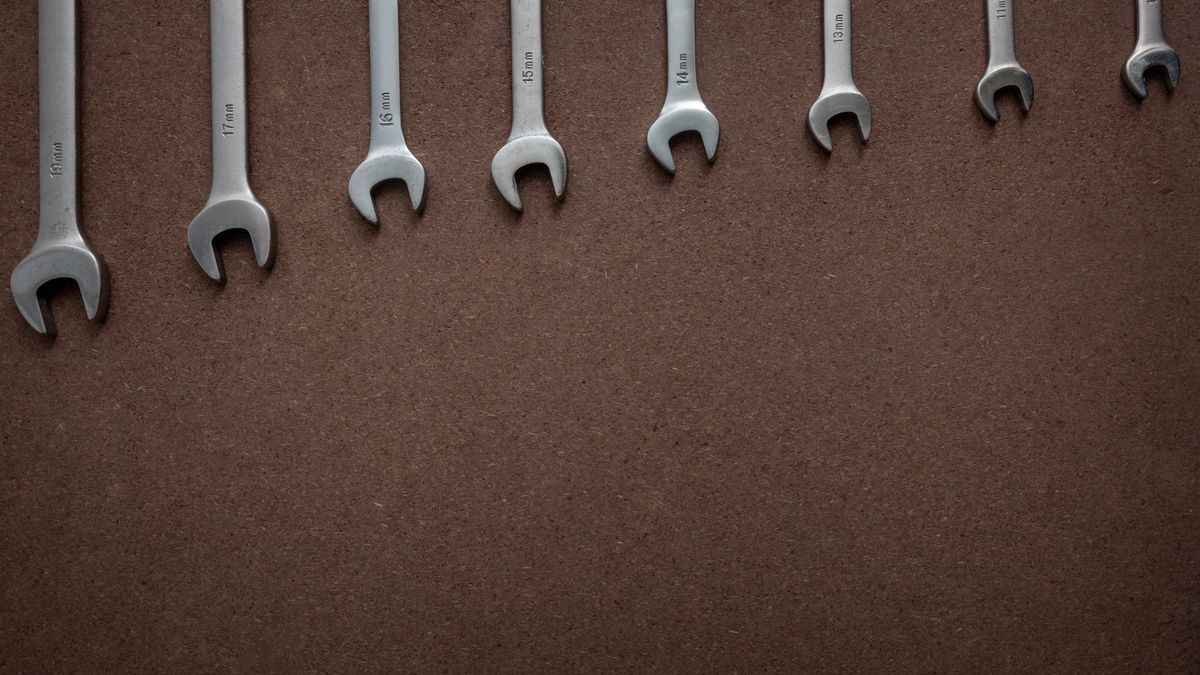
Adjustable spanners are not all identical. Read the maker's guidance on loading direction and intended use instead of assuming every design works the same way. Keep the tool square to the fixing and place your hand where it has room to move if the nut releases. Recheck the adjustment after repositioning; the moving jaw can loosen during handling. A fixed-size spanner may be the better choice if repeated turning is required.
Know when to put it down
Stop if the jaws spread, the adjustment slips or the nut's corners begin to deform. An extra squeeze is not a repair for a worn tool. Do not use an adjustable spanner as a hammer, lever or pipe wrench, and do not lengthen its handle with tubing. For an ordinary small assembly, compare the required tool with the assembly sheet before proceeding. If the fixing is inaccessible or needs a stated tightening torque, use the specified method rather than guessing from hand force.
Before you call it done
- Set the jaws closely around the flats.
- Recheck adjustment after moving the tool.
- Stop if either tool or fixing deforms.
Know the limit. Do not use this routine for gas fittings, electrical parts, pressure connections or vehicle work. Those require task-specific tools and competent procedures.