Make the support stable first
Place the work on a sturdy, clear surface with enough room for the clamp's body and handle. A clamp is not a substitute for supporting the weight of an awkward item. Dry-position the parts and check that neither will topple when released. Keep cables, fabric and fingers away from the moving jaws. If you need three hands to keep everything balanced, change the arrangement before beginning.
Spread pressure with clean pads
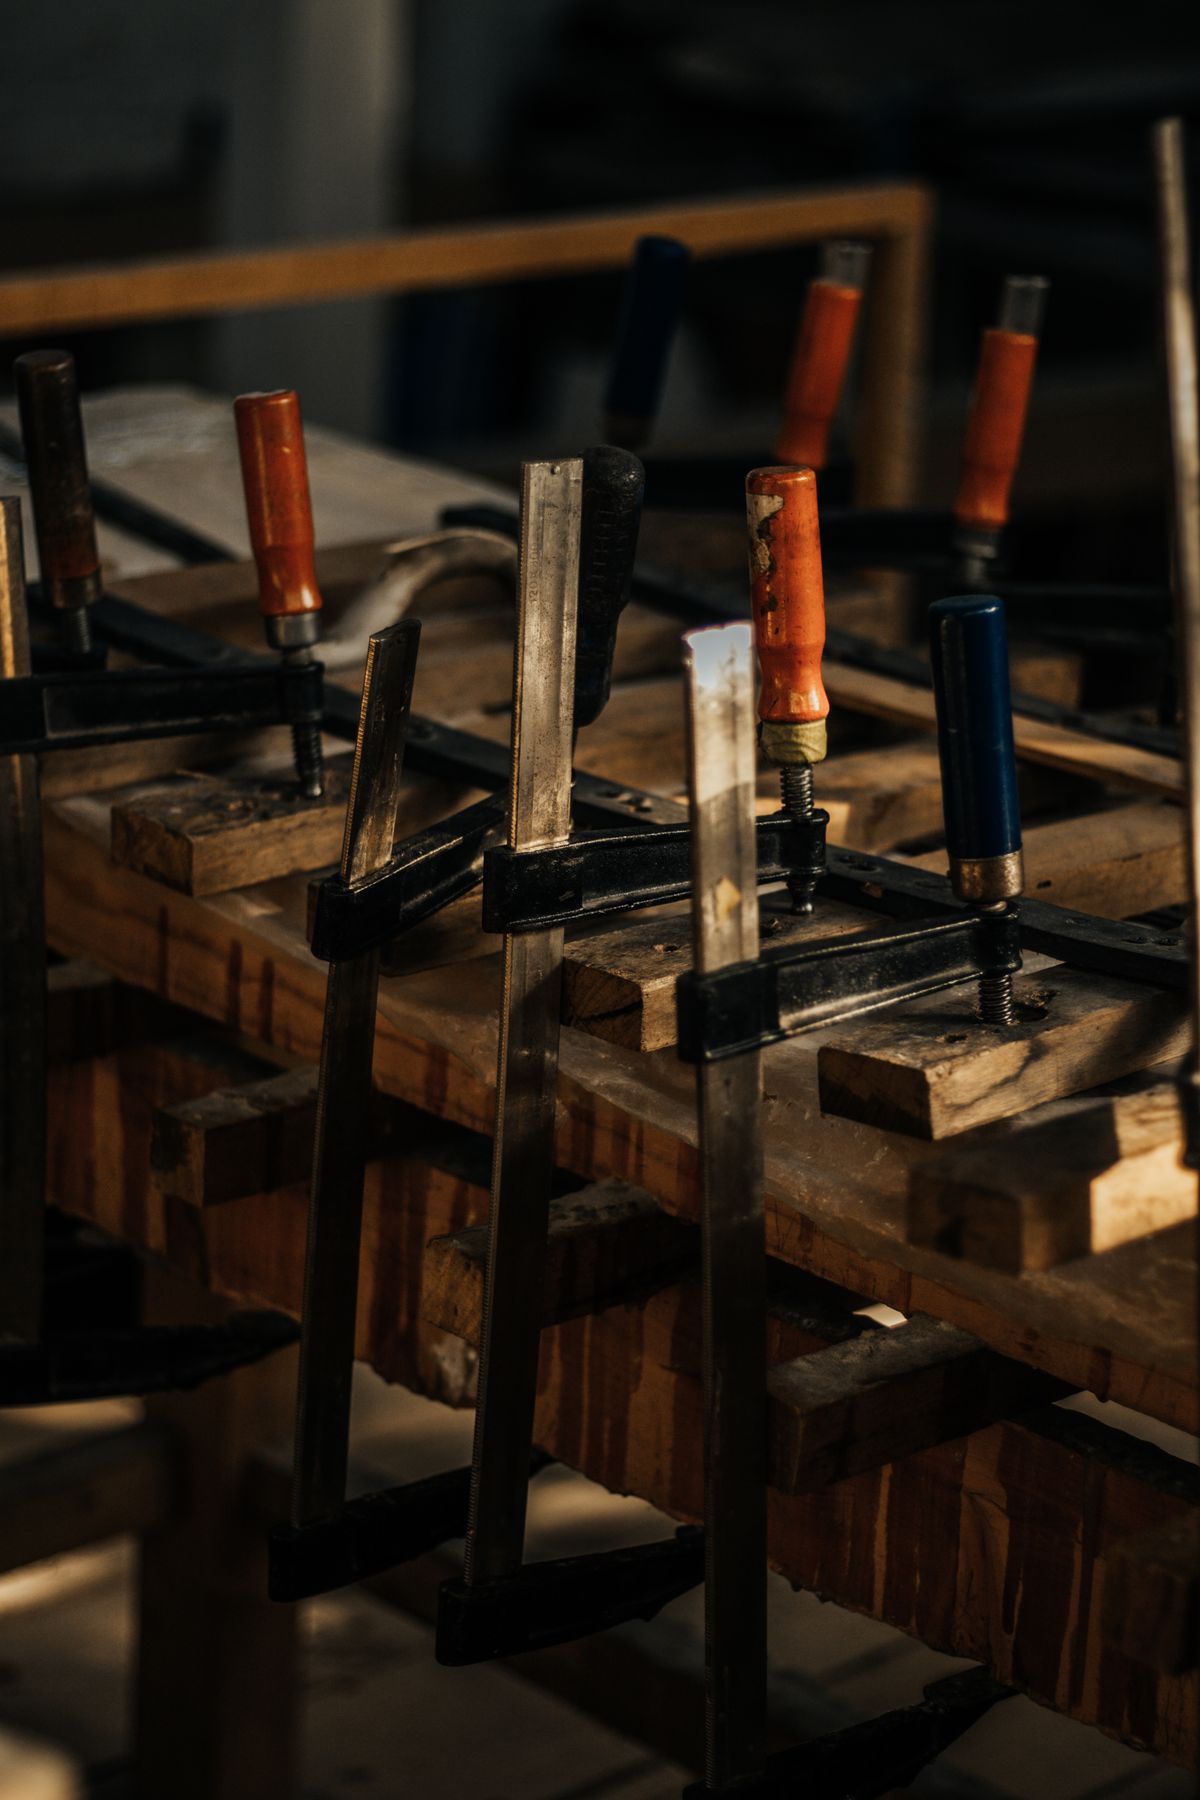
Use suitable protective pads between the jaws and a finished surface. Check them for grit, dried glue or a projecting screw that could leave a mark. Scrap timber can spread pressure, but it must be clean, flat and appropriate for the finish. Position the jaws so their force acts through the joint rather than pulling one part sideways. Decorative edges and thin panels are especially vulnerable to concentrated pressure, even from a small clamp.
Tighten gradually and inspect the result
Bring the jaws into contact, then increase pressure only enough for the task and the clamp manufacturer's guidance. Watch the joint while turning the handle: a gap opening elsewhere means the pressure is moving something. For an adhesive assembly, follow the adhesive's clamping and curing instructions rather than judging by the squeeze-out alone. Release the clamp in a controlled way once the specified stage is complete. Check the finish in good light before putting the item back into service.
Before you call it done
- Support the work independently of the clamp.
- Check padding for trapped grit.
- Watch for movement as pressure increases.
Know the limit. Ordinary hand clamps are not lifting equipment, structural supports or fall protection. Do not use them to hold a person, a heavy overhead item or an unstable load.